1 - Getting Started ~5 mins
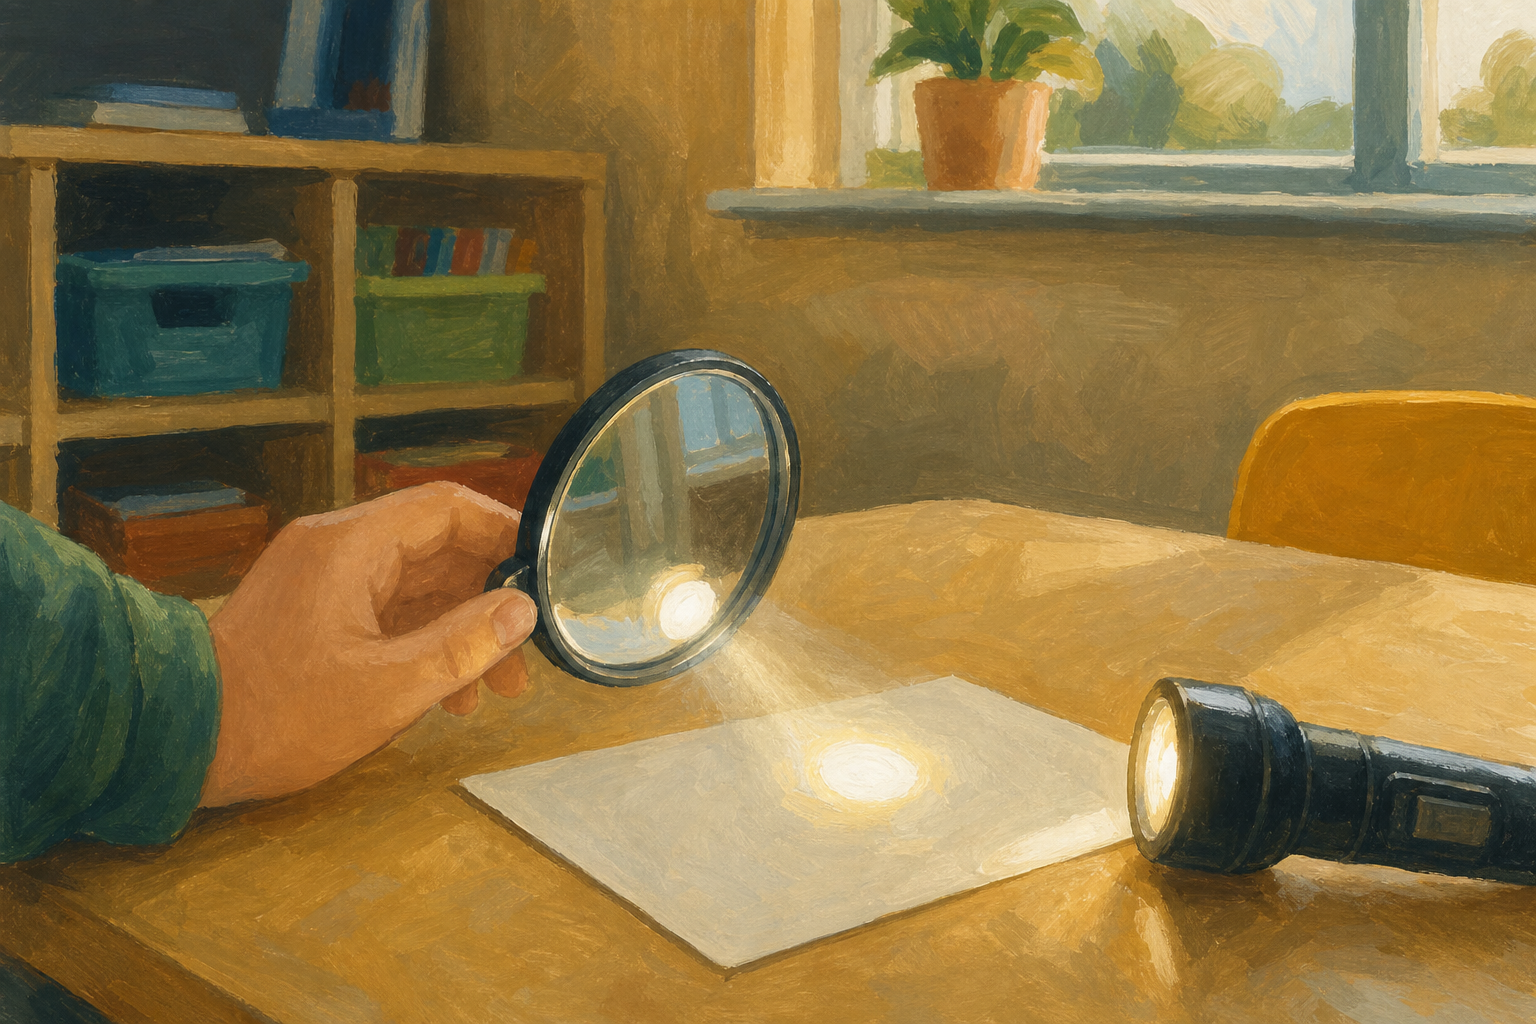 Look at this. A torch, a mirror, a glass of water, a coin, and a magnifier. Without touching anything yet: which of these could make light bounce, which could make something look bent, and which could make tiny print look huge?
Hands up one idea. We are going to test these today.
Have the tray of kit visible on the front bench but do not hand it out yet. Hold up one mirror, one glass of water with a pencil standing in it (do not draw attention to the bend yet), and one magnifier. The hook is curiosity only: no method, no variables, no full set-up talk.
Key question: Which object do you think will bounce light, which will bend it, and which will make things look bigger?
Collect three or four quick answers. Do not correct them. Say we will find out with real tests.
2 - Today's Light Words ~6 mins
Today we will watch light do three things: bounce, bend, and make things look bigger.
The science words for those are reflection (bounce off a smooth surface), refraction (bend when light goes from air into water), and magnification (a lens making something look bigger).
First we will aim a torch beam with a mirror so the bright spot hits a paper X. Which of the three words is that?
Project only the short board text. Lead with bounce, bend and bigger in plain words, then pin one science word at a time to the object you hold up (mirror, water glass, magnifier). Do not project the full table.
Main name-and-explain focus for this lesson is reflection (groups aim a beam). Refraction is notice-and-explain from a short pencil look plus a teacher coin demo, then the ray interactive. Magnification is estimate-and-record for the class chart.
| Concept | Why it matters | Example |
|---|---|---|
| Reflection — light bouncing off a smooth surface such as a mirror | Mirrors, shiny spoons and still water let us aim and redirect light without the light source moving | A torch beam hits a classroom mirror and bounces sideways to light a paper X on the far desk |
| Refraction — light bending when it passes from one material into another (for example air into water) | It explains why things under water look shifted or bent, and why lenses can focus light | A straight pencil in a glass of water looks kinked at the water line; a coin hidden in an empty mug reappears when water is poured in |
| Magnification — a curved lens making an object look bigger than it really is | Glasses, cameras, telescopes and microscopes all use lenses so we can see detail our eyes miss | A hand magnifier makes a 2 mm newspaper letter look about 6 mm tall — roughly three times bigger |
Worked example to model aloud before groups start (mirror bounce only):
I wonder whether I can bounce this torch beam off one mirror and hit the paper X on that chair. I predict that if I tip the mirror a little, the bright spot will slide across and land on the X. I test by holding the torch still, tipping the mirror slowly, and watching the spot. I observed that a small tip moved the spot a long way, and when the beam hit the X it lit it up. I think the light bounced off the mirror at a matching angle, so aiming the mirror is how I steer the beam.
Misconception to head off: children often say the water “bends the pencil” or “lifts the coin”. The pencil and coin stay where they are; it is the path of the light that bends, so the image looks shifted. Also watch for “light comes out of our eyes” — light travels to the eye from the object or mirror.
Nature of STEM: lenses are how people gained glasses, cameras, telescopes and the microscope. Once glassworkers could shape a clear curve, tiny print, distant stars and living cells became visible. Irish classrooms meet that story every time someone puts on reading glasses or uses a school microscope.
3 - What Do You Predict? ~4 mins
In your group, talk for one minute. Share two quick predictions and a why for each.
- Mirror and torch: can you bounce the beam onto the paper X?
- Coin in the empty mug: will pouring water change what you see?
Be ready to share one prediction with the class.
Before this step
Groups of three or four. Predictions stay oral; nothing is typed. Remind the class that a prediction is the start of the science, not a mark to get right.
Teaching tips
- Only two predictions on the board so the minute has depth for a why.
- Take two or three spoken predictions for the coin test especially — many children are sure the coin cannot reappear.
- Ask why once: “What is the light doing in your idea?”
- If a group has no idea, offer a stem: I think the beam will… because…
Differentiation: less confident pupils can choose just the mirror test to predict; confident groups can whisper a rough “times bigger” guess for later, but do not require it now.
4 - Bounce, Bend and Bigger ~20 mins
Your group runs two main tests. Keep the torch beam away from faces. As you finish each test, jot one note or number on your Investigation Journal page before you move on.
- Bounce. Prop one mirror. Shine the torch at it. Tip the mirror until the bright spot hits the paper X.
- Bend. Stand a pencil in your glass of water and look from the side. Then watch the coin demo at the front. Keep your head still while water is poured. What do you notice?
- Bigger. Look at the tiny print with your eye only. Next look through the magnifier. Then look through one rounded water drop on the clear plastic. For each lens, hold a ruler beside the letter, or count how many ordinary letters stack as tall as the magnified one. Write a whole number: about 2 times, 3 times or 4 times bigger.
Before the lesson
- Fill one clear cup or glass per group about two-thirds with water.
- Print the provided small-print cards (one per group) or cut matching strips of newspaper small print.
- Cut simple paper targets with a large X (one per group).
- Dim lights a little if you can; full blackout is not needed for short torch paths across a desk.
Room set-up
One kit tray per group of three or four: 1–2 mirrors, 1 torch, 1 glass of water, 1 pencil, 1 coin, 1 mug or opaque cup, 1 magnifier, 1 clear plastic square, 1 dropper or wet fingertip for a water drop, 1 small-print card, 1 paper X target, a few books to prop mirrors. Keep one extra mug, coin and jug at the front for the teacher coin demo.
How to run the 20 minutes (deliverable pack)
Groups do two load-bearing tests: mirror aim and magnification estimate. Refraction is a quick pencil look at the desk plus a short teacher-led coin demo so every pupil sees the surprise without four full group practicals.
- ~2 min: model the mirror bounce cycle once at the front (the worked example from the words step).
- ~7 min: groups bounce the beam onto the X. Two-mirror corner work is extension or early finishers only, not core.
- ~3 min: groups look at the pencil from the side; then call eyes front for the coin demo (one pupil or you pour; viewers keep heads still).
- ~8 min: magnification with the board method (ruler or letter-stack). Each group needs at least one whole-number estimate ready for the class chart.
Reveal or point to one numbered test at a time on the IWB so pupils only read the step they are doing now.
Measuring “times bigger” (say this aloud and leave it on the board for test 3): hold a ruler beside the magnified letter and compare its height with the same letter unmagnified, or count how many ordinary letters stack to match one magnified letter. A rough whole number (2×, 3×, 4×) is enough.
Water-drop lens: lay the clear plastic on the small-print card and place one rounded drop (not a smear). Looking straight down through the drop shows enlargement. Wipe and retry if the drop flattens.
Coin demo (teacher-led): coin sits in the empty mug on the bottom, hidden by the rim when viewers step back. Pour slowly while heads stay still. The coin becomes visible again as the water surface rises.
What to expect:
- Mirror: small tip of the mirror moves the spot a long way.
- Pencil: clear kink at the water line when viewed from the side.
- Coin: classic refraction surprise when water is poured.
- Magnifier: often about 2× to 4× on ordinary hand lenses; water drops vary and sometimes beat a weak magnifier.
If the torch beam is hard to see: shorten the path, aim at white paper, or cup a hand as a shade. Do not send pupils to a store cupboard for extra kit mid-lesson.
Safety while circulating: no torch at faces; no magnifier pointed at the sun or a bright lamp toward eyes; wipe water at once; glass stays on the desk.
Differentiation: early finishers try the two-mirror corner challenge or compare two drop sizes. Groups that struggle stay on mirror aiming with teacher support and join the front for the coin demo.
Recording habit: insist on one journal jot per test while the kit is out (path sketch, bend note, times-bigger number) so step 5 is tidy-up, not memory work.
5 - Record What You Saw ~8 mins
Finish your Investigation Journal page using the jots you made during the tests.
For bounce and bend: check your sketch or note shows what you did and what you noticed.
For magnification: check you have the tool (magnifier or water drop) and your whole-number estimate of how many times bigger the letter looked. Keep what you saw separate from what you think it means.
This is the paper recording beat. Pupils use the Investigation Journal page for this lesson (observation notes plus space that will hold their magnification numbers). Do not invent extra photocopied sheets. Most content should already be jotted from step 4; this step is tidy and complete, not a full rewrite from memory.
Look-fors:
- A clear note or sketch for the mirror path (torch → mirror → X).
- Pencil or coin described as looking bent or lifted, not as the object itself warping.
- At least one whole-number estimate for times bigger.
Prompt strugglers with stems said aloud: The light went… I noticed… The letter looked about … times bigger.
Groups should finish with one agreed magnification number ready to call out for the class data table next but one step.
Unlock the full learning experience
You're previewing this lesson. Get full access to this lesson and hundreds more — each one ready to teach, with interactive activities, printable resources and pupil progress tracking built in.
This lesson is copyright of Coding Ireland 2017 - 2025. Unauthorised use, copying or distribution is not allowed.