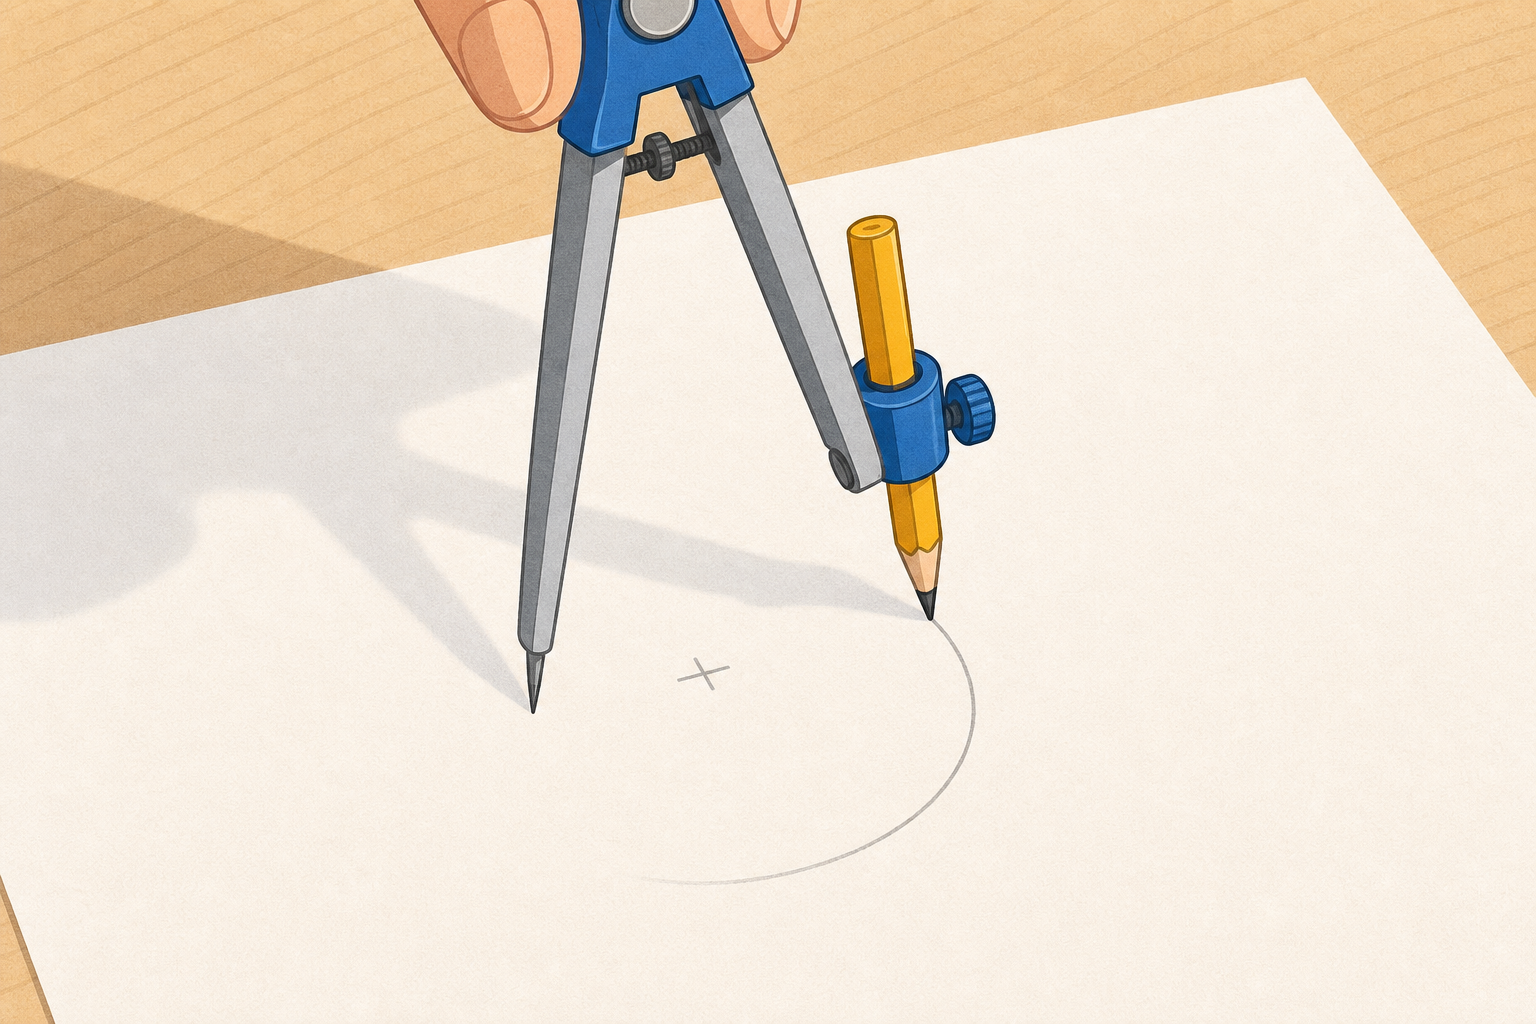
Watch the compass go all the way round in one smooth turn and draw a perfect circle. What did the compass keep the same the whole way round, and what changed?
Draw one clean circle at the front on the visualiser or a large sheet. Take two or three hands-up answers only — you are fishing for the point stayed still and the pencil moved around. Don't confirm yet; the model step proves it.
Here are three finished circles drawn with a compass. Each was made by setting the gap to the radius, planting the sharp point, then rotating the pencil-arm without lifting it.
Now a bigger circle. Notice the gap between the point and the pencil is the radius every time.
And a small circle, where the two legs are almost touching. Look carefully at how the curve joins back up.
Name each step as it animates: set, plant, rotate. On the small radius 2.5 cm circle, hold out for the join — the point must not move or the ends miss. Then, on a real sheet at the front, deliberately lift the point halfway through one turn so the class sees the curve break — that is the slip they must avoid.
Today we draw a circle to each radius we call out: first 3 cm, then 5 cm, then 2 cm. The screen lets you set the radius with the slider and draw; you set your own compass gap against your own ruler, plant the point, and rotate without lifting. One of you works the screen at the front while everyone draws the same circle on paper.
Talk this one through together — pupils take turns at the board and the class agrees or corrects out loud.
Call each radius clearly (3 cm, then 5 cm, then 2 cm). The screen models the routine; pupils set their real compass gap against their own ruler. As pupils draw at their seats, circulate and check the compass gap is set against the ruler before the point goes down. The commonest slip is measuring the gap by eye instead of against the ruler. Compare a paper circle to the screen circle after each one.
In your maths copy, draw three circles that all share the same centre (these are called concentric circles). Mark the shared centre with a small cross. Set your compass to 2 cm first and draw without lifting; then re-set to 4 cm and draw again; then 6 cm.
Walk the room glancing for the shared centre cross and a clean, unbroken curve on each ring — this is whole-class copybook practice, not marking. If the point drifts between rings the circles will not be neatly nested; that is the thing to catch.
Today we draw a circle to each target radius: 2.5 cm, then 3 cm, then 4.5 cm, then 5 cm. Measure each gap against your ruler before you plant the point, then check your circle against the target on screen.
This is the practice round — pupils take turns at the board, check each answer, and the class confirms before moving on. Keep the board work brisk rather than over-explaining.
Pupils draw each target on paper while individual pupils set the target on screen and press Check. Fast finishers who are waiting watch the board and predict the next radius. The Olympic rings come next as a paper task.
You're previewing this lesson. Get full access to this lesson and hundreds more — each one ready to teach, with interactive activities, printable resources and pupil progress tracking built in.