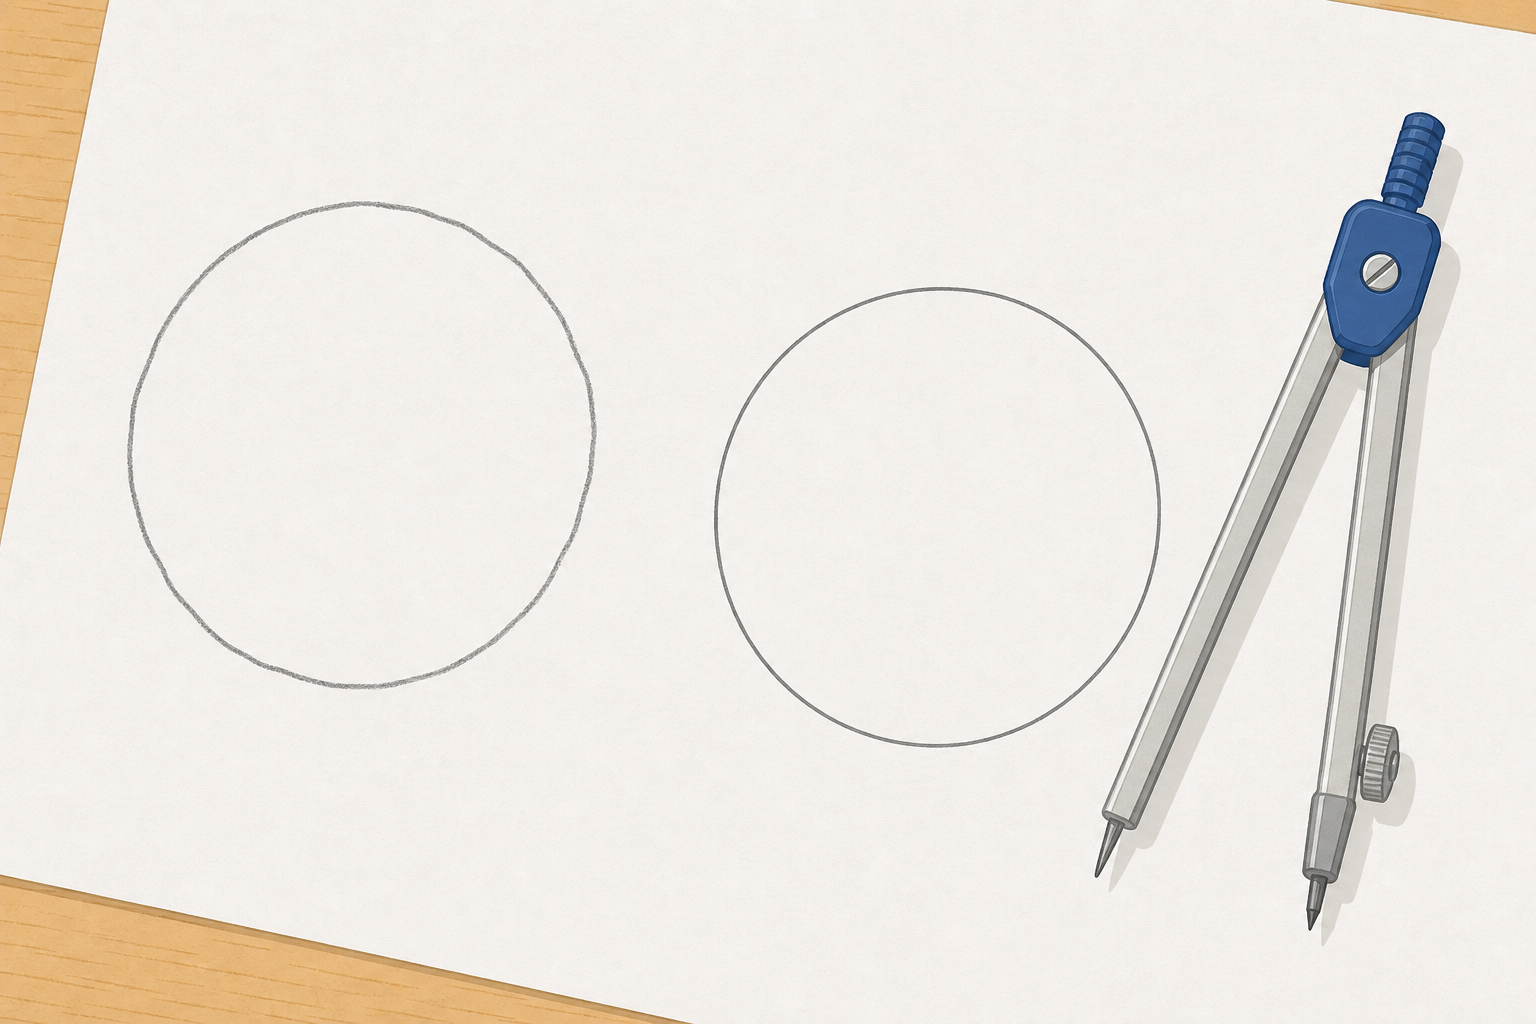
Here are two circles. One was drawn freehand with a pencil. The other was drawn with a compass.
Look closely: which one is a true circle, and what makes it perfect all the way round?
Take two or three hands-up answers, not open call-outs. Listen for the idea that every point on the compass circle is the same distance from the centre. Revoice: so the compass keeps the exact same gap the whole way round.
Watch three circles on the board, each labelled with its parts. Look for where the centre sits and how far the radius reaches. The circumference is the whole distance all the way around the edge. The diameter goes right across through the centre, and it is made of two radii laid end to end, so it is always exactly twice the radius.
Now a second circle, smaller than the first. The radius is shorter this time. Notice what has happened to the diameter now that the radius is shorter.
This last one shows the centre, radius and diameter again. Notice that the diameter does pass through the centre.
Today we work through these circles together. One pupil sets each circle at the board while the rest of the class predicts the answer aloud. First a radius of 6 cm. Then a radius of 2 cm. Then one where only the diameter of 8 cm is given, so we work the radius back out. Before each one, say what the diameter (or the radius) will be before we check.
Talk this one through together — pupils take turns at the board and the class agrees or corrects out loud.
For the 6 cm and 2 cm circles, pupils set the radius and predict the diameter (12 cm, then 4 cm) before the read-out confirms it. For the last one, flip it: the diameter is 8 cm, so what radius must the compass be opened to? (4 cm). This is the halving direction pupils find harder.
In your maths copy, construct a circle of radius 5 cm with your own compass. Label the centre, the radius, the diameter and a chord. Then write down the length of the diameter.
Walk the room glancing at compass technique — point planted still, pencil arm steady. This is whole-class copybook practice, not marking. Watch for the diameter being labelled as 5 cm instead of 10 cm — a quick prompt fixes it.
Work out the radius the compass needs each time before you set it.
Today we build circles to match a target. First a radius of 3 cm. Then a radius of 7 cm. Then a circle whose diameter must be exactly 10 cm. Finally a circle whose diameter must be 6 cm.
This is the practice round — pupils take turns at the board, check each answer, and the class confirms before moving on. Keep the board work brisk rather than over-explaining.
The radius challenges (3 cm, 7 cm) are the easy to start entry. The diameter challenges (10 cm → radius 5 cm; 6 cm → radius 3 cm) are the stretch — pupils must halve the diameter to find the compass setting. Ask what did you open the compass to? each time.
You're previewing this lesson. Get full access to this lesson and hundreds more — each one ready to teach, with interactive activities, printable resources and pupil progress tracking built in.