1 - Getting Started ~5 mins
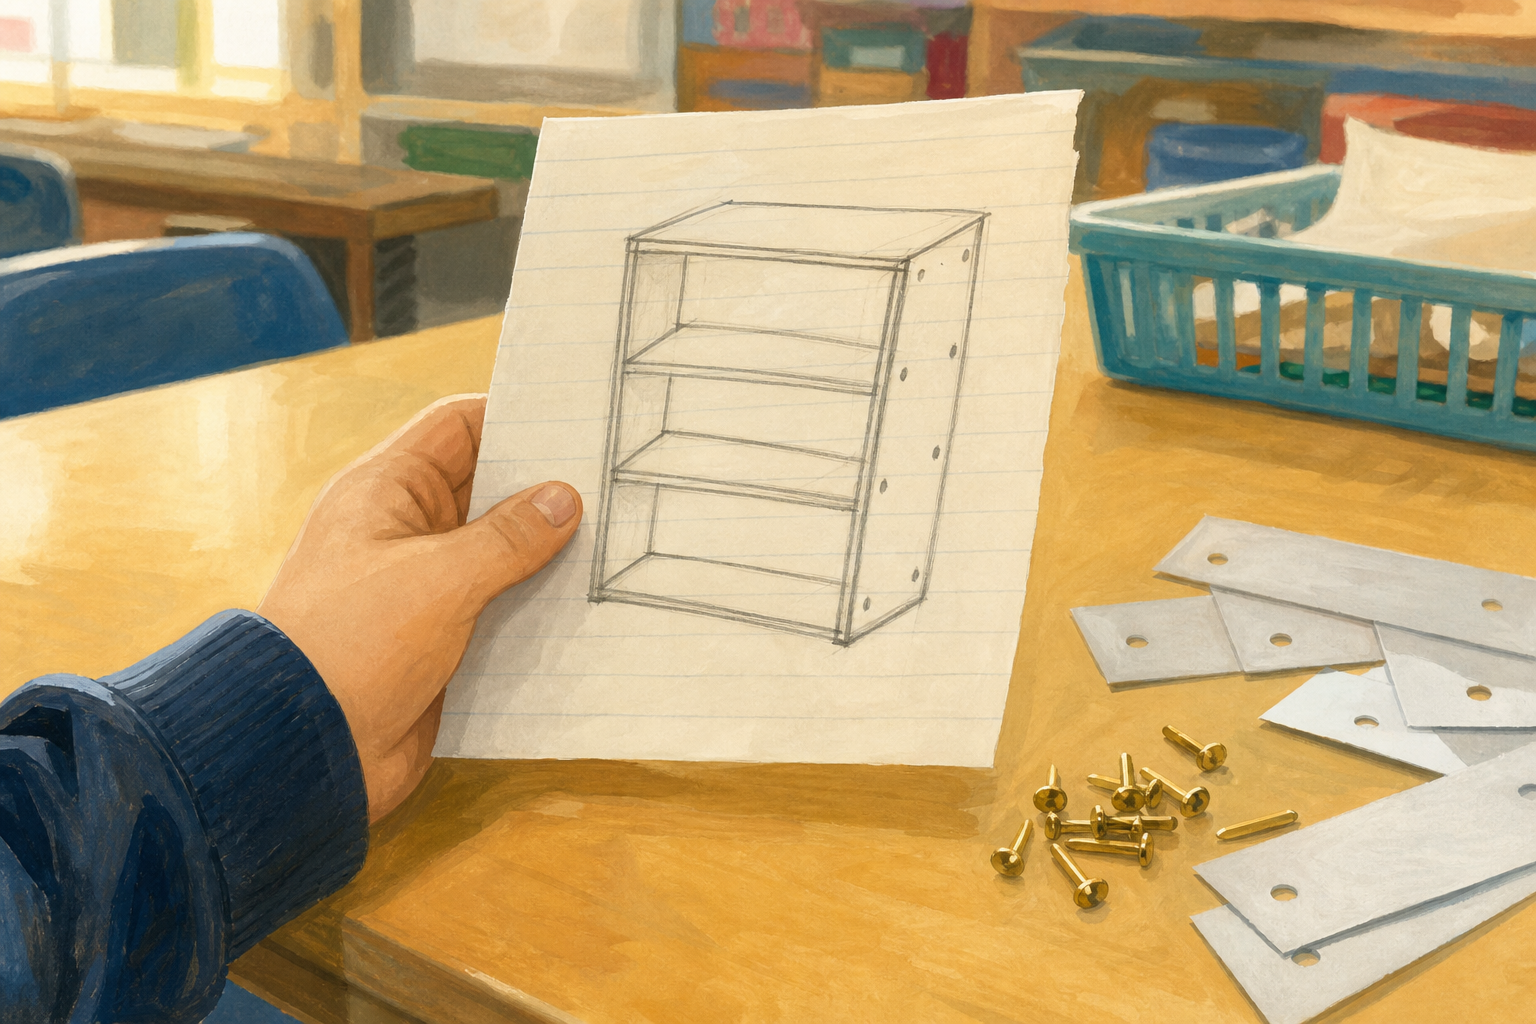 Open your Design Brief from earlier in this project. Look at the sketch, the job, and what the build must do.
Today we build it full size for the real classroom job. Which shape will carry the load? Which join will take the strain?
Have each group's Design Brief and half-size test notes ready from earlier in this project. Groups keep the same job (shelf, tablet stand, coat peg or light bag rail, or desk-span bridge).
Bridge groups: full size means the planned desk or gap span on the Design Brief, not a real yard bridge.
Coat-rail groups: plan for one light bag or light coat only, not a row of heavy coats.
Key question: What two or three things must this build do to count as a success?
Keep this hook light. Journals and briefs only; the build kit comes out in the construction step. You might name one familiar triangle you already know (a roof truss in the school hall, or a brace on playground equipment) so the class links today's shapes to real places.
2 - What Makes a Full-size Build Strong? ~5 mins
Three decisions for the bench:
- Full-size prototype — build at the real size for your classroom job (shelf for books, stand for a tablet, rail for one light bag, or bridge across the desk gap you planned).
- Test as you go — rest a light load on the frame while you build so a peel or sag shows early. First tests often show a peel or sag: that is useful news, not a bad build.
- Fix by shape or join — when something fails, change the shape or the join (triangle brace, rolled tube, gusset, slotted tab, split pin, or tape), not just more tape on the same weak spot.
When something sags or peels, which will you try first: a triangle brace, a tube, or a better join?
| Concept | Why it matters | Example |
|---|---|---|
| Full-size prototype — a working model built at the real size needed for the classroom job (or the largest safe span agreed on the Design Brief), using strong shapes and joins from the Design Brief | The half-size test showed what fails; the full build must meet the real classroom job at a safe size | A shelf sized for four classroom library books; a bridge sized to a planned desk gap, not a yard span |
| Test as you go — resting a light load on the build during construction so weaknesses show early | Finding a peel or sag halfway through is easier to fix than discovering it only at the end | Resting one book on a half-finished shelf before the back brace is fixed |
| Fix by shape or join — strengthen a weak spot by changing the shape or the fixing, not by piling on more of the same material | Engineers fix a weakness by changing the idea that carries the load | Brace a sagging beam with a folded card triangle, or swap peeling tape for a triangular gusset |
Strong shapes and joins to name aloud when something fails: triangle brace; arch or braced span; roll a sheet into a tube; swap tape for a gusset or slotted tab; use a join that holds firm rather than one that only pivots.
Same-day joins only: sticky tape, split pins, slotted tabs, and string are the load-bearing joins today. PVA is optional for non-urgent laminating only and must not be relied on for any joint that will take a test load in this lesson (it will not set in time).
Misconception to head off: more tape always means stronger. Tape that peels needs a different join or a brace, not a thicker wad of the same tape.
Nature of STEM: engineers fix a weakness by changing the shape or the join, not by adding more material alone.
3 - Build the Full-size Prototype ~20 mins
Build the full-size version from your sketch for your classroom job. Choose one load-carrying shape (triangle brace, braced beam, or arch idea) and one strong join that holds straight away (tape, split pin, slotted tab, or string).
Work as a group. Keep loads low. Midway, rest one light load on the frame to check it. If a cut is hard, ask an adult.
Before the lesson: gather card, corrugated card, paper, lolly sticks, short dowels if available, sticky tape, split pins, string, scissors, and the real light loads that match each group's job (books, a tablet, one light bag). Print plain recording paper only if you are not using the reverse of the Design Brief (see step 5). An adult is ready to make difficult cuts. Optional PVA may sit on the side for non-structural laminating only — do not hand it out as a main join.
Same-day structural joins: tape, split pins, slotted tabs, and string only. Any joint that must carry a load today cannot depend on wet PVA.
Job scale: shelf and tablet stand at useful full classroom size; coat peg or rail for one light bag only; bridge groups build the planned desk or gap span on their brief, never a yard-length span. Card and lolly sticks cannot safely carry a real yard bridge or a row of heavy coats.
Checkpoint at about 12 minutes: every group should have a standing main frame or span before decorating. If a group is still cutting only, help them assemble the simplest triangle-braced frame so they enter step 4 with something testable.
Circulate and ask: Which shape is carrying the weight? Which join is holding it? Point back to the Design Brief sketch if groups drift into decoration without structure. Prompt a light mid-build rest of one book or bag so testing-as-you-go starts here, not only in the next step.
Differentiation: less confident groups start with a simple triangle-braced frame and tape or slotted-tab joins; confident groups may add a second brace once the first route of the weight down to the table works.
Safety: adult supervision with scissors; adult makes difficult cuts; keep loads low; stand clear if something starts to collapse.
4 - Test Under Load and Fix One Weakness ~12 mins
Put a light load on your build. Watch for sag, tip, or peel. First tests often show a peel or sag — that is useful news, not a bad build.
When something weak shows, name the strong shape or join that fixes it: triangle brace, stronger span shape, tube, gusset, slotted tab, or a better fixed join. Make that one change, then load again gently.
This is the design-challenge beat inside the build: evidence first, then one deliberate fix. Every group should arrive with a standing main frame from step 3. If a group still has no frame, give them two minutes and a simple pre-cut triangle brace so they can still run evidence → one named fix → gentle reload.
Prompt the class: What failed first, a shape that buckled, or a join that peeled or pivoted? Which idea from triangles, spans, or joins solves that exact problem?
What to expect: peeling tape at corners; flat beams sagging in the middle; stands tipping when loaded at the front. Strong fixes include a diagonal triangle brace, a triangular gusset, rolling card into a tube upright, or swapping a pivot-only split pin for a fixed gusset where the joint must not move. Same-day joins only — no waiting for glue.
Groups may make more than one small fix if time allows, but each fix should be named and purposeful. Save a clear before-and-after story for the next lesson's measured load test.
Fold the whole class in by questioning watchers: Do you think that brace will stop the sag? What would you try?
5 - Record the Build and the Fixes ~8 mins
On your recording page (the reverse of your Design Brief, or the plain paper your teacher gives you), write under these three headings:
- What we built — the job, the main shape that carried the weight, and the main join that held it.
- What sagged, tipped, or peeled — where the weakness showed under the light load.
- What we changed and why — which strong shape or join fixed it (triangle brace, tube, gusset, slotted tab, or better join) and why that idea helped.
Write enough so next lesson you can remember which shape carried the weight, which join held it, and the change you made.
Recording surface (self-contained): This lesson's shipped Design Brief page is a planning sheet only. Do not expect pupils to find build / weakness / fix boxes on it. Have every pupil turn the Design Brief over and use the blank reverse, or hand out plain paper. Write the three headings on the board exactly as in the pupil description and leave them up for the whole step.
Pupils complete the three headings on paper. No typing into the platform.
Sentence starters if needed: We built a… for… The main shape was… The main join was… The weak spot was… We fixed it by… because…
Check that each group has named a shape or join idea, not only "we added more tape".
This beat stays in-lesson so the record is ready for next lesson's measured load test — do not default it to homework.
Unlock the full learning experience
You're previewing this lesson. Get full access to this lesson and hundreds more — each one ready to teach, with interactive activities, printable resources and pupil progress tracking built in.
This lesson is copyright of Coding Ireland 2017 - 2025. Unauthorised use, copying or distribution is not allowed.