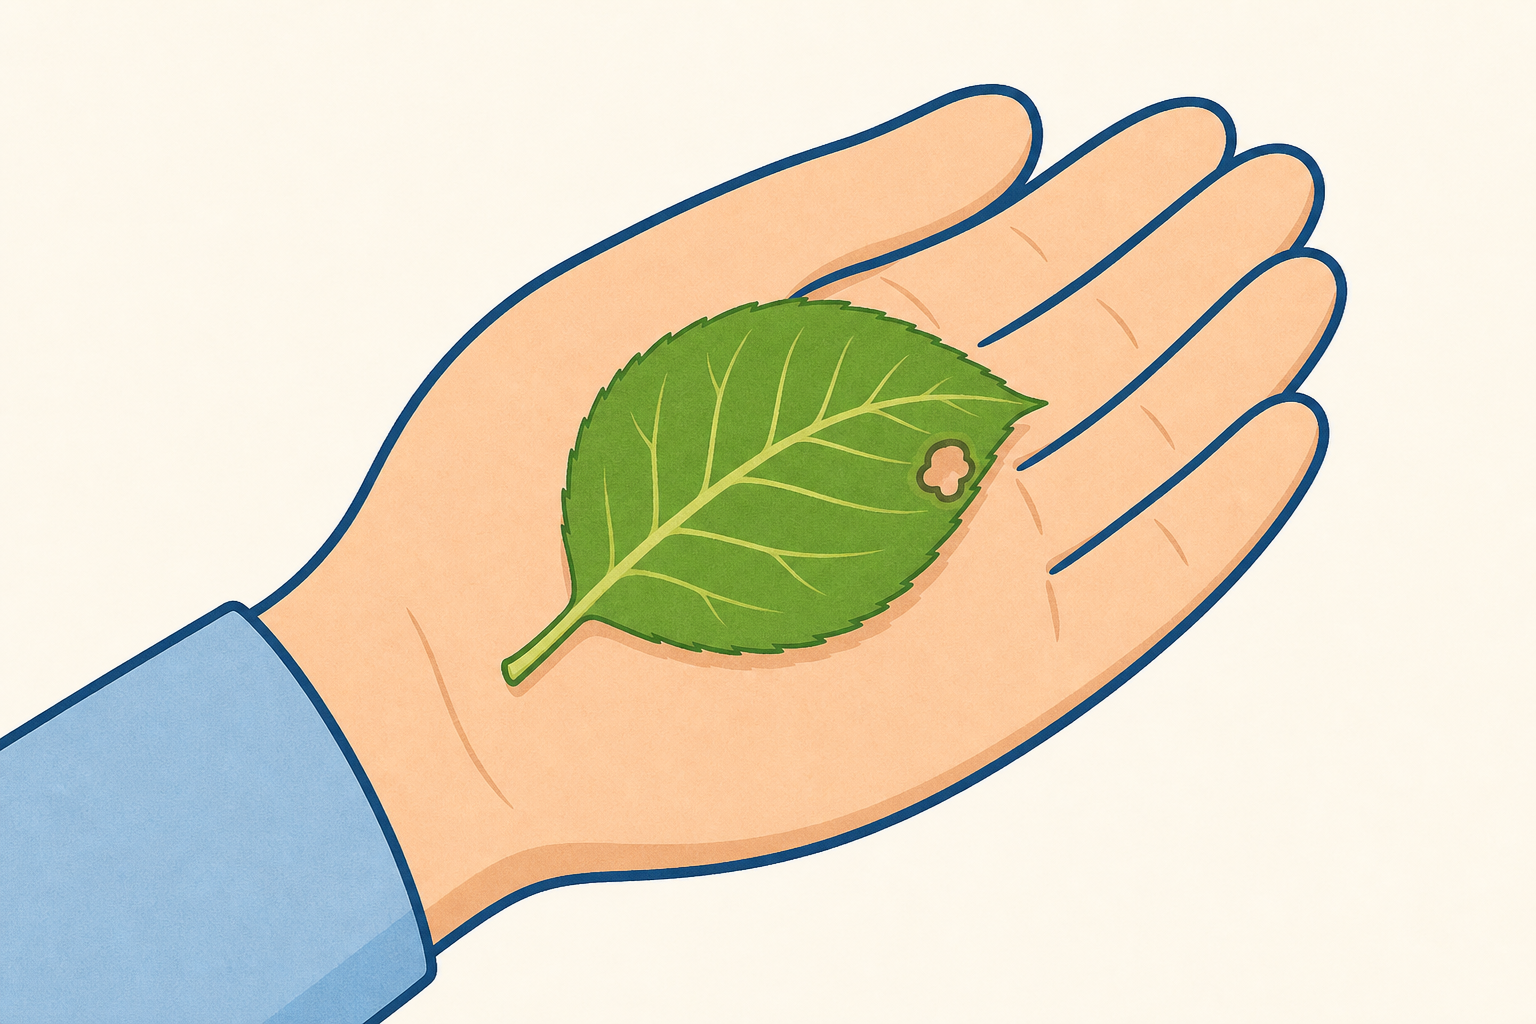
Look at what I am holding. What can you see with just your eyes?
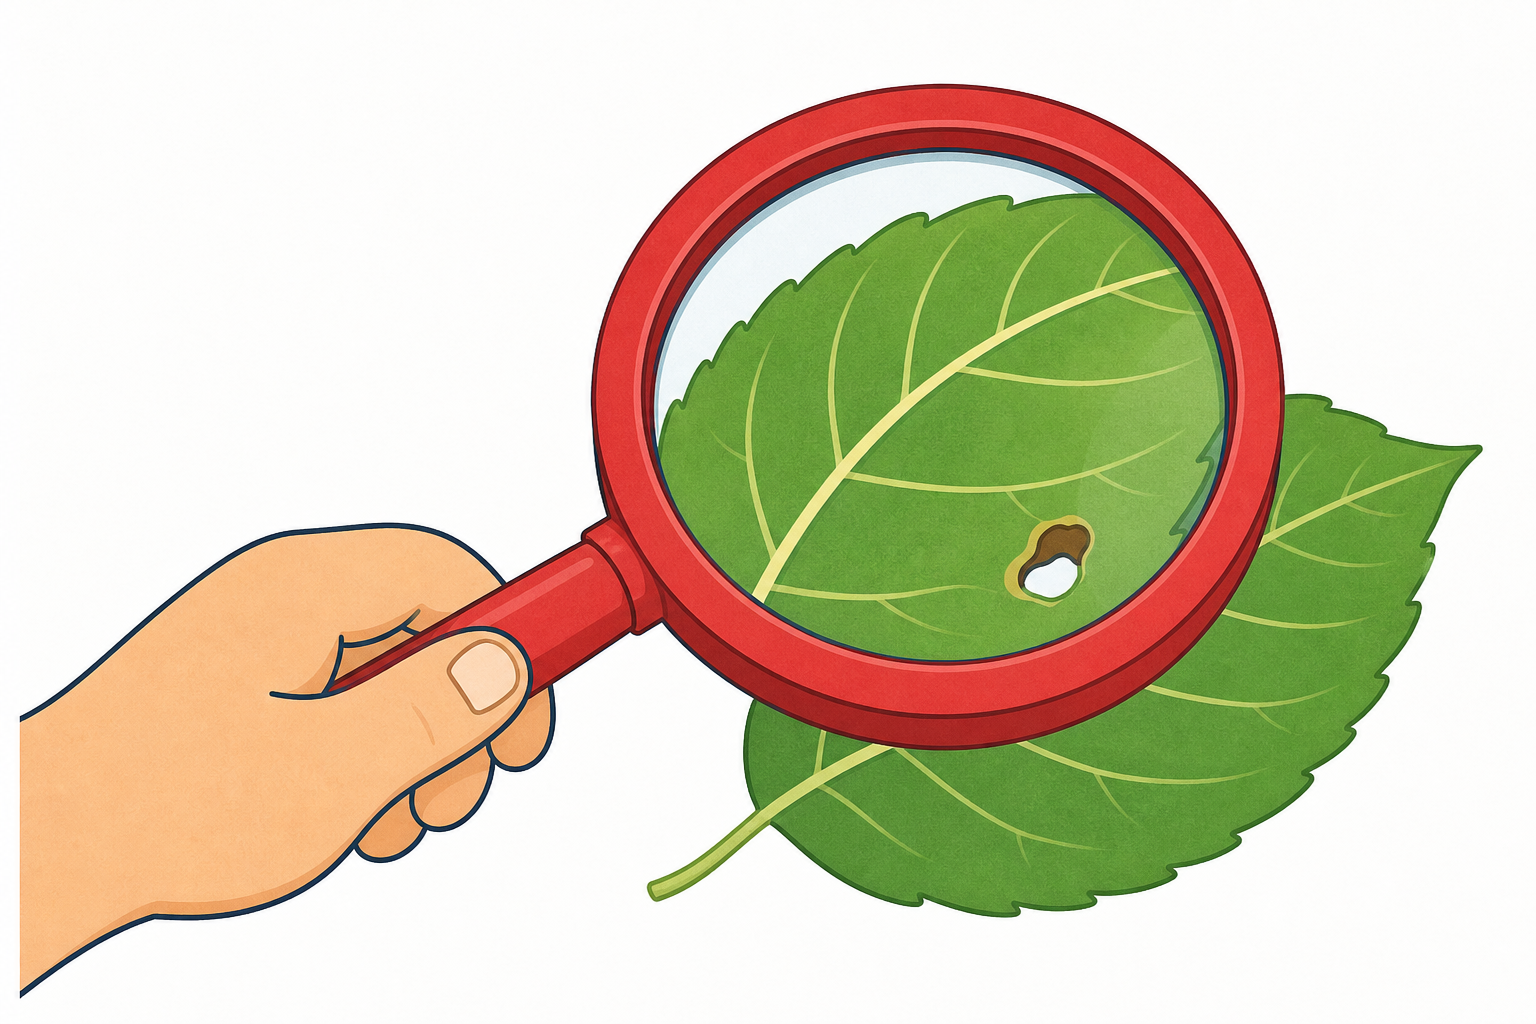
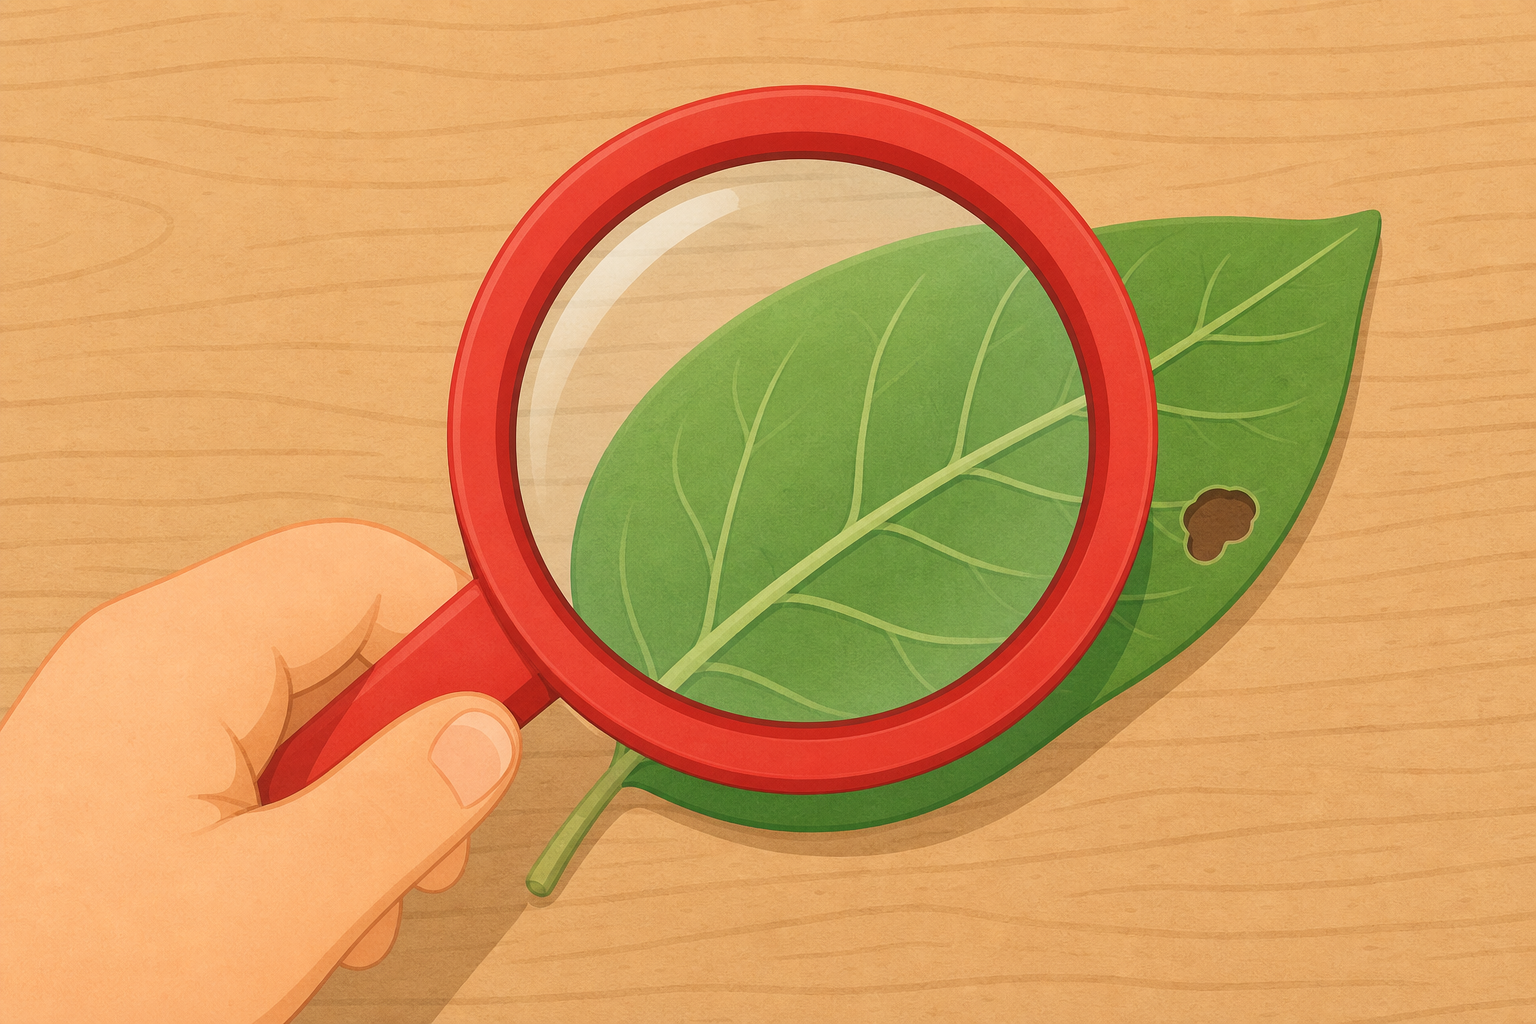
Now watch when we look again with a magnifier. What new thing do you notice?
Have one interesting outdoor find ready to show (a leaf, a piece of bark, or a flower head). Hold it up first so the class looks with bare eyes. Then hold a magnifier over it and invite two or three children to name one new detail. The on-screen line says "what I am holding" so it always matches whichever find you chose.
Key question: What can you see now that you could not see before?
Who helps us: A park ranger in the woods or on the coast looks this closely to learn about plants and tiny animals.
Keep this beat short and curious. Do not hand out materials or start the walk yet.
Watch how I look closely.
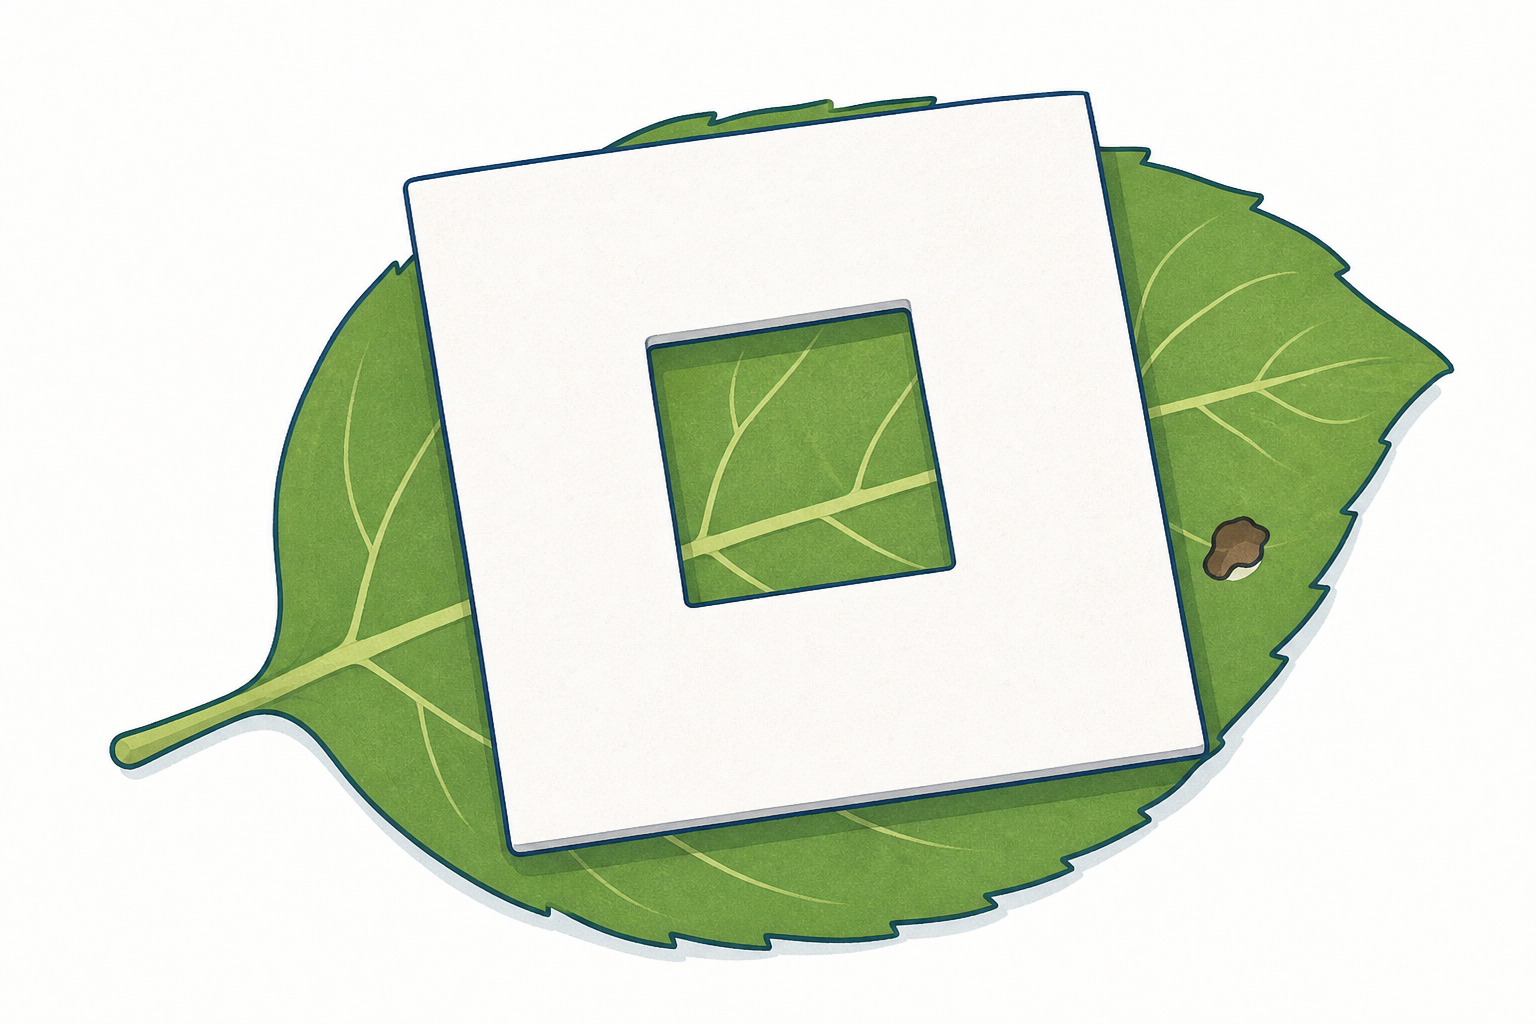
I hold the magnifier near the find. Or I use a looking window and look only at what is inside.
Your turn outside next. Keep your eyes on the tools.
| Concept | Why it matters | Example |
|---|---|---|
| Looking closely — using your eyes carefully to notice small details you might miss at first | Close looking helps us learn more about plants and tiny creatures in our school garden | A leaf looks plain green from far away, but up close you may see lines, spots or tiny hairs |
Everyday tool talk (not separate key concepts): a magnifier makes small things look bigger; a looking window (card frame, clean toilet-roll tube, or fingers in a circle) helps us hold still and look at one small patch. A detail is one small thing we notice, such as colour, shape or how something feels. Always say looking window on the board and aloud; "fingers in a circle" is only the no-prop fallback, not a second tool name.
This is a quick teacher model with the real object and tools in the children's view. Do not turn it into a long imagine-question with empty hands. Show how to hold the magnifier near the object (not against an eye like a monocle if that confuses them). Show a looking window: hold the card or tube still and look only at what is inside; if you have no card, model fingers in a circle as the same looking window.
Worked looking cycle (say aloud): I wonder what this bark is like up close. I think I might see little lines. I look carefully with my magnifier. I noticed tiny cracks and a bit of green moss. I think looking closely helps me see more than a quick glance.
Misconception to head off: Children may think the magnifier "makes things grow". Gently say it only makes them look bigger; the leaf stays the same size.
Hand-out (end of this beat, before lining up): After the model, give each child a magnifier and a looking window (or confirm the finger-circle fallback). Tools stay in hands or coat pockets for the walk so step 3 does not lose looking time to distribution.
If weather is too wet or windy, set the pre-gathered nature tray indoors with shared leaves, bark, petals and a few safe yard finds, and run the same close-looking play at tables (tools still handed out after the model).
We are going outside to look closely. Use your magnifier or your looking window.
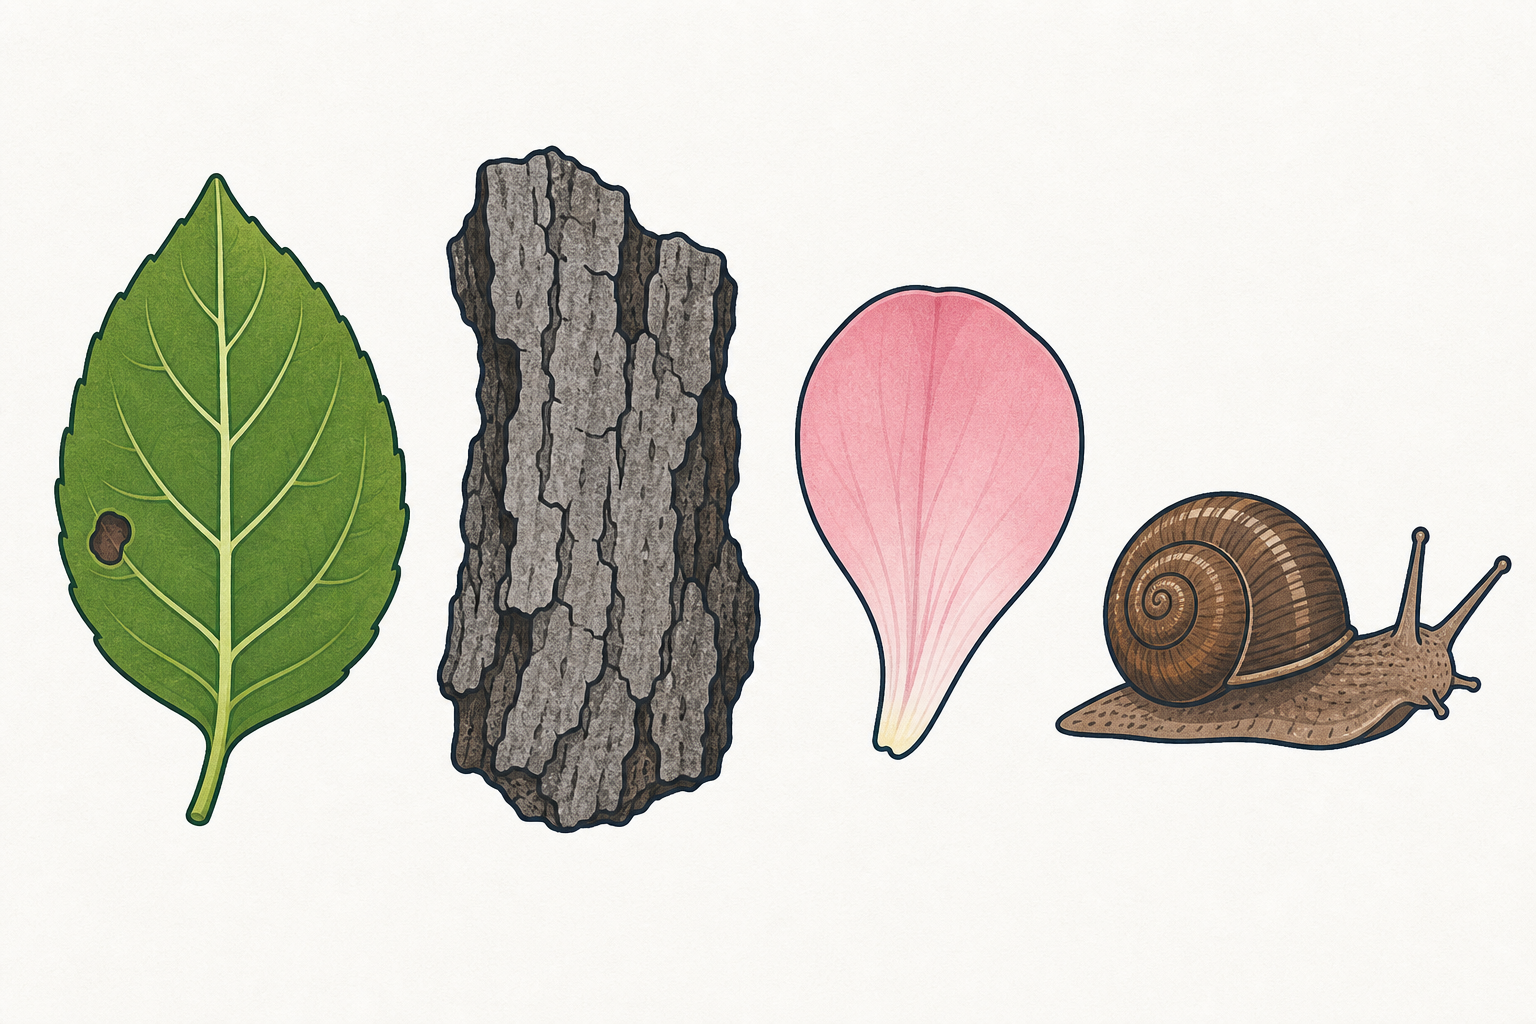
Find one thing like the ones I show: a leaf, bark, a petal, or a tiny creature. Look carefully. What colour do you see? What shape?
Tools already out: Magnifiers and looking windows were handed out at the end of Looking Closely. If anyone missed one, give it as you line up — do not pause the first garden stop to distribute.
Before you leave (inside the 13 minutes): Coats already on if needed. Count the class, agree the walking boundary (school garden beds, yard edge, or two or three doorstep stops), and remind children: stay with the group, no picking or tasting, gentle hands only if a minibeast appears. Protect stop-and-look time; this is not a long loop.
Point-to-example before the door: Hold up (or point to a photo of) a leaf, a bark piece, a petal and — if safe — a picture of a woodlouse or snail so every child knows which one outdoor thing they may choose. Keep the choice singular: one find only.
Timing note (fixed overhead vs looking): Budget roughly 4–5 minutes for coat check, count, boundary talk, line-up and return plus hand wash, and about 8–9 minutes for the short stops themselves. Keep looking stops short and frequent so close-looking time is not lost to travel.
Look-fors: child holds magnifier near the object; child can point to one detail; child uses a simple describing word (green, round, soft, bumpy).
Differentiation: Pair a less confident child with a confident talker. Offer sentence starters: I can see… It feels… Children who finish early look for a second detail on the same object rather than rushing to a new place.
Safety: Adult eyes on the whole group. No berries or leaves in mouths. Wash hands on return before drawing.
Wet-weather fallback: Use the pre-gathered nature tray at tables with the same one-find, magnifier or looking-window play.
On your drawing page, draw the one thing you looked at up close outdoors.
Show one thing you noticed: a colour, a shape, lines or bumps. Your picture of the find plus that one bit is enough.
Hands already washed on return (folded into the end of the walk). Investigation Journal pages and crayons ready so this 6-minute beat is pure drawing time in class. Do not send the drawing home; Step 5 needs fresh drawings in children's hands.
Children draw one close-up find: leaf, bark, petal or minibeast. Emergent labels are welcome for children who are ready (for example a letter or a short word like leaf), but drawing is enough. Reassure anyone who frets about "scientific" drawings: a clear try at the whole object plus one noticeable bit is the goal.
Observation prompts while you circulate: Show me the part you saw with the magnifier. What colour will you use? Where were the lines, spots or bumps? If a child talks about how it felt, celebrate that orally; on the page steer them to a seeable detail. Touch talk belonged on the walk only.
What good looks like at this age: a recognisable attempt at the object plus at least one clear detail (veins on a leaf, bumps on bark, a shell curve). Do not expect accurate scale or scientific labelling.
Do not describe or invent journal-page boxes. The page is generated from this lesson; just tell children to draw what they looked at up close.
Who will hold up their drawing and tell us one thing they noticed?
What colour, shape or bumps did you see up close?
Whole-class oral share. Invite three or four children to hold up their drawing and say one concrete detail (colour, shape, lines, bumps). Revoice their words with the lesson language: looking closely. You may gently add that a magnifier or looking window helped them notice more.
Teacher revoices the big idea (do not require pupils to explain it): Looking closely helps us notice more than a quick glance. Link gently to a park ranger who looks closely to learn about plants and tiny animals.
Display only: no typing, no written reflection. Keep it warm and brief.
If two children noticed opposite things on similar leaves, celebrate both: different finds are good science talk at this age.
You're previewing this lesson. Get full access to this lesson and hundreds more — each one ready to teach, with interactive activities, printable resources and pupil progress tracking built in.