Quick recap: what does it mean to run a program, and where does the output appear? Today we move into Python — a real text-based language used all over the world. We'll build our first Python program step by step at our devices: predict first, then build, run, and fix any bugs. Open the micro:bit Python editor and get ready.
Open the lesson with a quick recap question: what happens when we run a program, and where do we see the result? Keep this short — set the scene that today's tool is real Python text, not blocks. Have the editor open on the board and students logged in and paired before moving on.
Before anyone runs anything, look at what we're about to build and commit to a prediction. When this program runs, what will you see, and where? Will it appear all at once or one piece at a time? Say your prediction to your partner before you press Run.
This is the PRIMM predict beat. Hold students back from running anything. Ask: what will appear on screen, and will it show all at once or in order? Collect two or three predictions and write them on the board to revisit at the make-sense step. Encourage even unsure students to commit — a wrong prediction is fine and useful.
Python is a widely-used programming language known for its simplicity and readability. It was created by Guido van Rossum and first released in 1991. Python has become one of the most popular programming languages in the world, used in various fields such as web development, data analysis, artificial intelligence, and more. In fact, Python is often the first language taught in schools and universities due to its beginner-friendly syntax.
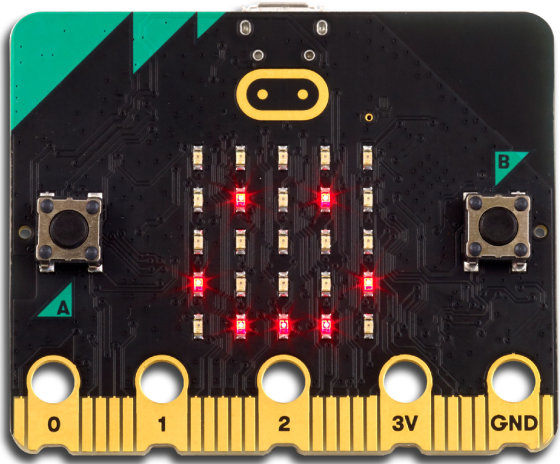
In this lesson, you will learn the basics of Python and get familiar with the Micro:bit Python editor. The Micro:bit is a small, programmable device that can be used to create exciting projects and learn programming concepts. By the end of this lesson, you'll have a solid foundation in Python and be ready to explore more advanced topics.
Python has a large community of developers, which means you'll find plenty of resources and support as you learn. With Python, you can build websites, create games, analyze data, and even program robots. Let's get started on your Python journey!
Use this as a brief read-and-orient step. Reassure students that Python being text-based is a step up from blocks but follows the same logic. Key question: where will our code run? Don't dwell — get them into the editor quickly. Support: pair confident readers with those who find the text dense.
Visit the Micro:bit Python editor by clicking here. This will open up a new browser tab and show the Python code editor where you will write and test your Python code throughout this course.
When you start a new project, you might see some default code like this:
# Imports go at the top
from microbit import *

# Code in a 'while True:' loop repeats forever
while True:
    display.show(Image.HEART)
    sleep(1000)
    display.scroll('Hello')
Keep the first line of the code, which is:
from microbit import *This line is important because it imports all the necessary functions and classes from the Micro:bit library, allowing you to use them in your code. Without this line, you won't be able to access the Micro:bit's features like the display or buttons.
Delete the rest of the code before moving to the next step.
To create a new Python project for a Microbit, open the website python.microbit.org.
This will open the code editor with a new project. It might have some example code already added such as:
# Imports go at the top
from microbit import *

# Code in a 'while True:' loop repeats forever
while True:
    display.show(Image.HEART)
    sleep(1000)
    display.scroll('Hello')
You should delete this code except for the import line that you will need. This imports the necessary libraries you will need to code a microbit.
# Imports go at the top
from microbit import *
Walk students through opening the editor in the new tab on the board so no one gets lost. Point out the one line they must keep at the top. Watch for students who close the tab or lose it behind the lesson window. Differentiation cue: for students who finish early, ask them to explain why that top line is needed.
Python has a simple syntax that makes it easy to read and write.
Python uses indentation to define code blocks. Each level of indentation is represented by 4 spaces or a tab. Here's an example:
x = 5

if x > 0:
    display.scroll("x is positive") # this line is indented

y = -3 # this line is NOT indented

if y < 0:
    display.scroll("y is negative")
Notice how the display.scroll statements are indented to show that they're inside the if blocks. The next lines of code after the first if block are not indented, indicating that they are not inside the first if block.
Model indentation clearly on the board — line up the indented lines so the structure is visible. Key question: how does Python know which lines belong together? The common bug here is mixing tabs and spaces; agree on four spaces as a class. Support: have students point at where each block begins and ends before typing.
Unlock the full learning experience
You're previewing this lesson. Get full access to this lesson and hundreds more — each one ready to teach, with interactive activities, printable resources and pupil progress tracking built in.
This lesson is copyright of Coding Ireland 2017 - 2025. Unauthorised use, copying or distribution is not allowed.