Digital Media
Intermediate
80 mins
Teacher/Student led
+80 XP
What you need:
Chromebook/Laptop/PC or iPad/Tablet

Video Editing Intro

In this lesson, you'll explore the basics of video editing using Clipchamp, a free online tool. Learn key terms, edit clips, add effects, text, and music, and create a short video while practising safe online habits.
Learning Goals Learning Outcomes Teacher Notes

Teacher Class Feed

Load previous activity

    1 - Introduction

    Welcome to this lesson on Video Editing Intro. In this session, you'll discover the basics of editing videos using Clipchamp, a free online tool. Video editing is a fun way to create digital content, like short clips for school projects or social media. It helps you tell stories, share ideas, and make your videos more engaging. By the end, you'll know how to use key tools and create your own short video responsibly.

    Lesson Objectives

    By the end of this lesson, you will be able to:

    • Understand what video editing is and why it's useful.
    • Learn terms like trim, cut, timeline, and transitions.
    • Use Clipchamp to edit a simple video.
    • Add effects, text, and music safely.
    • Create a short video project.
    • Think about copyright and safe online practices.
    Activity: Spend 5 minutes thinking about a video you've seen online. Jot down in your notebook: What made it interesting? Was it edited? How?
    Video editing turns raw footage into polished stories. Remember, always use content you have permission for to respect copyright.

    2 - What is Video Editing?

    Definition of Video Editing

    Video editing is the systematic process of organising and altering video clips to produce a cohesive final video. This can be compared to assembling pieces of a puzzle to form a complete narrative or story.

    Importance of Video Editing

    This skill is essential as it enables you to convey ideas with clarity, enhance the excitement of your content, and captivate your audience. It is applicable in various contexts, including recreational activities, educational projects, and online sharing.

    Key Terms in Video Editing

    • Timeline: The primary workspace where video clips are arranged in sequential order.
    • Trim: The action of shortening a video clip by eliminating sections from the beginning or the end.
    • Cut: The process of dividing a single clip into multiple smaller segments.
    • Transitions: Visual effects that facilitate a smooth connection between two clips, such as fades or wipes.

    Examples of Editing Techniques

    For instance, trimming can eliminate uninteresting portions, resulting in a more dynamic and concise video. Similarly, transitions help to avoid abrupt changes, thereby enhancing the overall flow and professionalism of the video.

    Editing responsibly involves ensuring that your content does not mislead viewers. It is important to verify facts and utilise royalty-free music to comply with copyright regulations.

    3 - Getting Started with Clipchamp

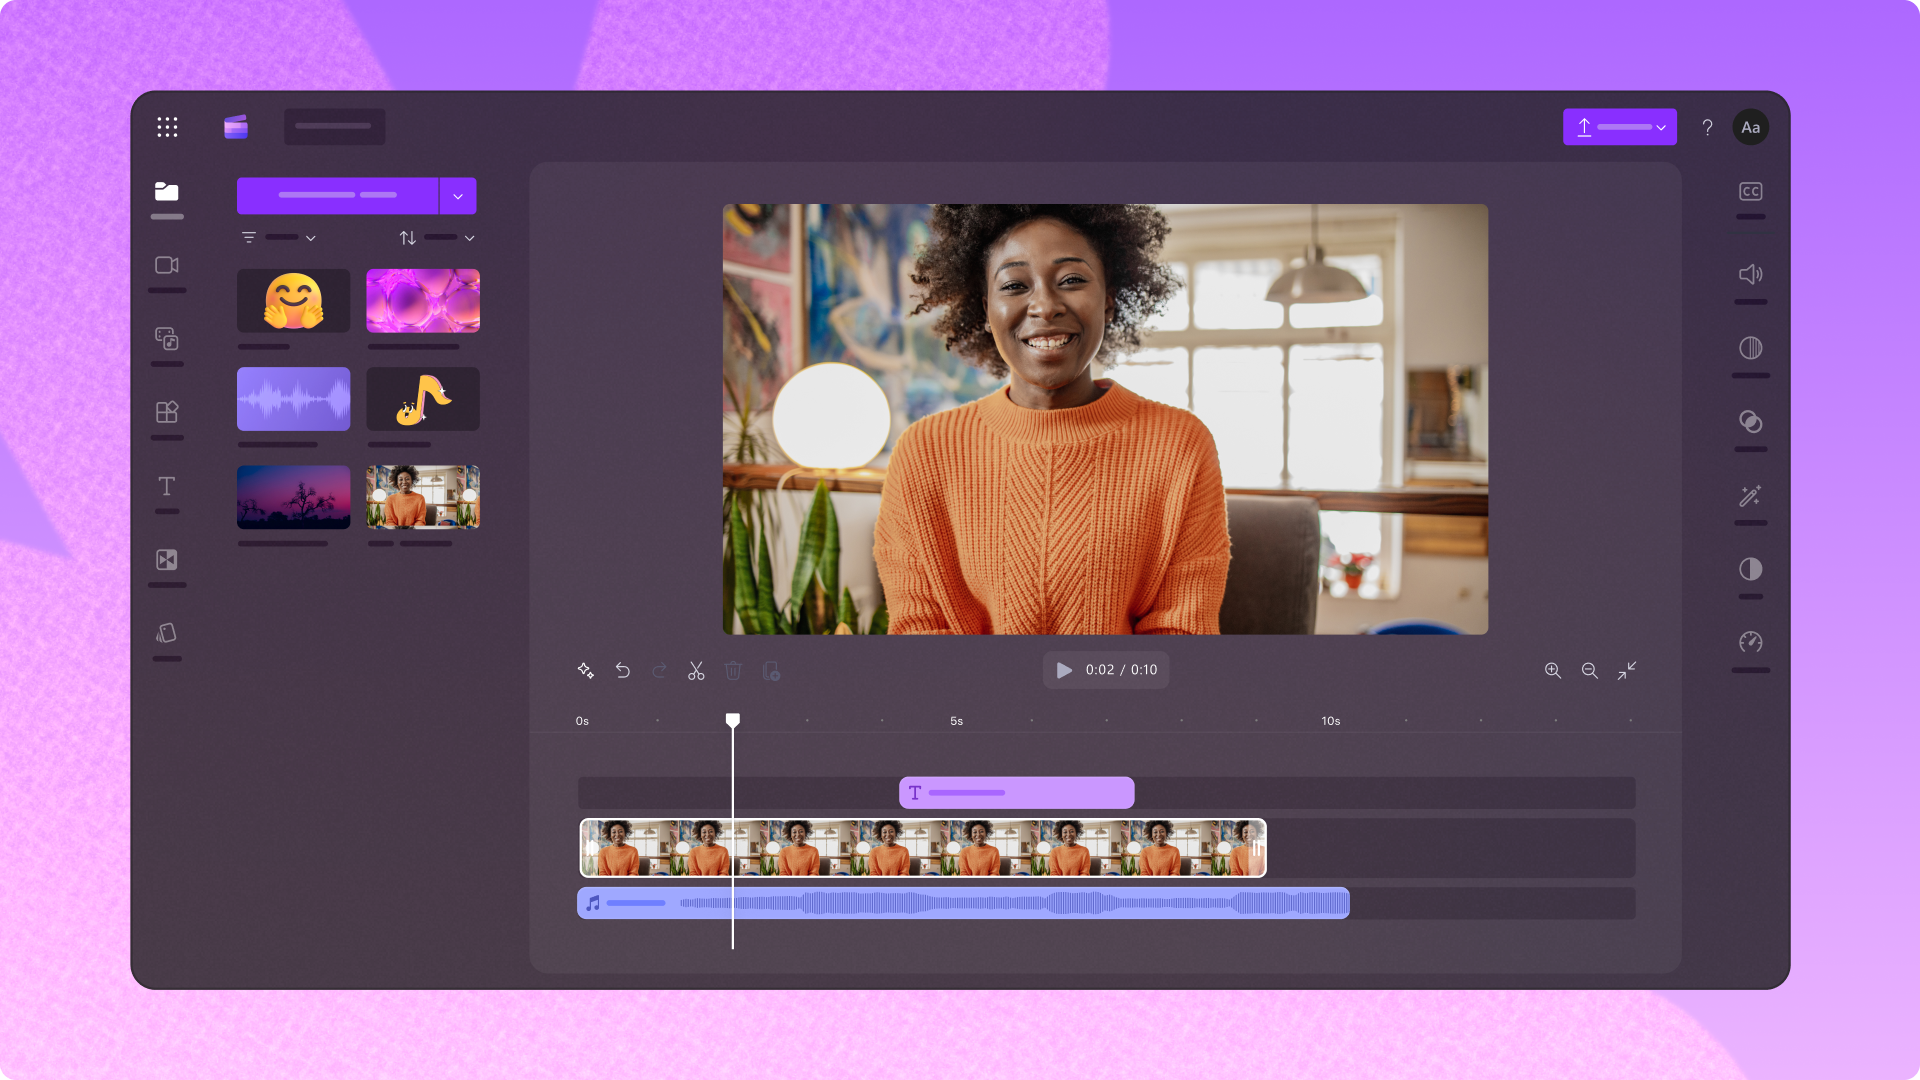
    In this step, you will begin using Clipchamp, a free and user-friendly video editing tool that operates directly within your web browser. This means no software downloads are required, making it accessible for school projects and personal use.

    Introduction to Clipchamp

    Clipchamp provides a range of features suitable for beginners, including tools for importing media, editing timelines, and adding effects. It is important to use this tool responsibly, ensuring that you follow safe online practices throughout the process.

    Getting Started with ClipChamp 

    1. Open your preferred web browser and navigate to the Clipchamp website by clicking this link: Clipchamp.
    2. If you do not have an account, sign up using your school email address to gain free access. If you encounter any issues, seek assistance from a teacher.
    3. Once logged in, select the option to 'Create a new video' which will open a blank project ready for editing.
    4. Take a moment to familiarise yourself with the interface. Locate the timeline at the bottom of the screen; this is the central area where you will arrange and edit your video clips.

    Exploring the Interface

    The main sections include the media library for uploading files, the preview pane for viewing your edits, and various tabs for effects, text, and music. Understanding these elements will help you navigate the tool effectively.

    Dedicate 5 minutes to exploring the menus and features. Locate the 'Media' tab and upload a short video clip from your device. Choose safe content, such as a recording of a pet or a nature scene that you have created yourself.
    Tip: Always practise safe online habits, such as avoiding the sharing of personal information and using strong, unique passwords for your accounts.

    4 - Working with the Timeline

    Understanding the Timeline

    The timeline serves as the fundamental structure of your video project in Clipchamp. It displays your video clips arranged in a sequential order, along with separate layers for audio tracks and visual effects. This component is crucial because it enables you to organise the elements of your video in a logical manner, ensuring that your story unfolds coherently and engagingly.

    You can upload your own video files (such as ones recorded on your phone or downloaded from your device), or search for royalty-free clips online to bring into your project. Once uploaded, these clips will appear in your media library, ready to be placed onto the timeline.

    Importance of the Timeline

    By mastering the timeline, you can control the pacing and flow of your video, much like arranging chapters in a book. A well-organised timeline prevents abrupt jumps and helps maintain viewer interest throughout the video.

    Steps to Work with the Timeline 

    1. Locate the timeline at the bottom of the Clipchamp interface.
    2. Drag your uploaded video clip from the media library and drop it onto the timeline.
    3. Click the play button in the preview pane to watch the clip play back on the timeline.
    4. Use the zoom controls (represented by plus and minus icons) on the timeline to zoom in for detailed editing or zoom out for an overview of the entire project.
    5. If you have multiple clips, you can rearrange them by clicking and dragging them to new positions on the timeline.


    Activity: Upload or select two video clips from the media library. Drag them onto the timeline, then rearrange their order by dragging one clip before or after the other. Play the timeline to observe how the sequence affects the video flow. Allocate approximately 10–15 minutes for this activity.
    Remember, a well-structured timeline is essential for creating a smooth and professional-looking video. It allows you to build your narrative step by step, similar to constructing a story with a clear beginning, middle, and end.

    5 - Trimming and Cutting Clips

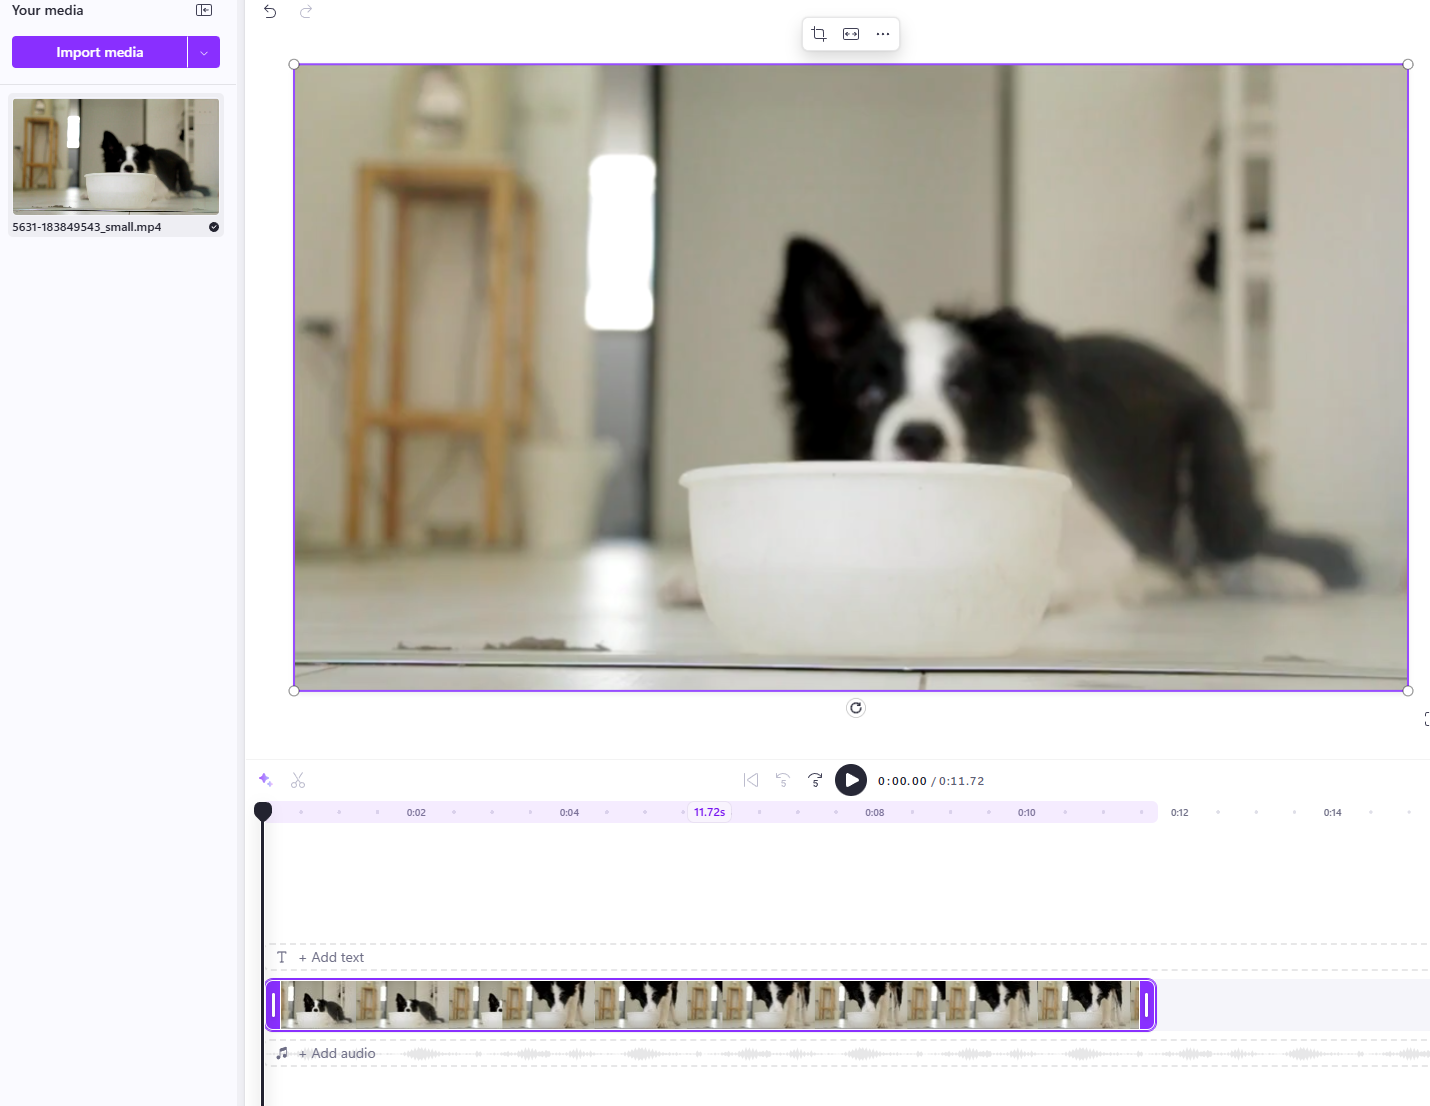
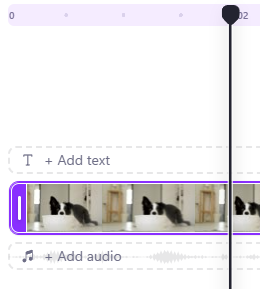
    Trimming and cutting are essential techniques in video editing that allow you to remove unnecessary sections from your clips. This process helps to create more concise and engaging videos by eliminating any parts that may not contribute to the overall narrative or message.

    Importance of Trimming and Cutting

    These skills are crucial for maintaining the attention of your audience. By shortening clips and removing irrelevant content, you can improve the pacing of your video, making it more dynamic and professional. Effective trimming and cutting ensure that only the most relevant and interesting moments are included, resulting in a polished final product.

    How to Trim a Clip

    Trimming involves shortening a clip by adjusting its start or end points. Follow these steps:

    1. Select the clip on the timeline by clicking on it.
    2. Position your cursor over one of the ends of the clip until it changes to a double-arrow icon.
    3. Click and drag the end inwards to shorten the clip, removing sections from the beginning or the end as needed.
    4. Release the mouse button to apply the trim. Preview the clip to ensure it flows well.

    How to Cut a Clip

    Cutting divides a single clip into multiple segments, allowing you to rearrange or remove specific parts. Here is how to do it:

    1. Select the clip on the timeline.
    2. Move the playhead (the vertical line that indicates the current position) to the point where you want to make the cut.
    3. Click the scissors icon in the toolbar above the timeline to split the clip at that point.
    4. You can now edit, move, or delete the resulting segments individually.
    Select a clip from your timeline, trim it to exactly 10 seconds, and then cut it into two equal halves. Play back the edited clip to review your changes. Allocate approximately 10 minutes for this task.
    Tip: When trimming or cutting, focus on preserving the most impactful moments to enhance your video's quality. Always ensure you are using your own recordings or royalty-free stock footage to respect copyright guidelines and avoid any legal issues.

    Unlock the Full Learning Experience

    Get ready to embark on an incredible learning journey! Get access to this lesson and hundreds more in our Digital Skills Curriculum.

    Copyright Notice
    This lesson is copyright of Coding Ireland 2017 - 2025. Unauthorised use, copying or distribution is not allowed.
    🍪 Our website uses cookies to make your browsing experience better. By using our website you agree to our use of cookies. Learn more