1 - Start: What We're Building ~5 mins
You can already drag blocks together in Scratch and start a script with the green flag. Today we're building a Racing Car game — a car you steer around a track with the arrow keys, that even slows down when it drives onto the grass.
We'll build it step by step at our devices: predict first, then build, run, test, and fix anything that doesn't behave. Don't worry if something breaks — that's exactly what today is about.
Set the scene briefly and get devices logged in to Scratch. Tell students what they're building (a steerable car on a track) without listing any blocks. Reassure them that breaking and fixing things is the point of today. Support cue: confirm everyone can see a blank project before moving on.
2 - Predict Before You Run ~10 mins
Before anyone clicks the green flag, look at what we're about to build and commit to a prediction. When the program runs and you press the arrow keys, what do you think the car will do? What will you see first on the stage?
Say your prediction to your partner so you can check it later.
Run the PRIMM predict beat. Ask: when the green flag is clicked and you press the arrows, what will the car do? What appears first? Collect two or three predictions and park them on the board to revisit at the make-sense step. Don't confirm or correct yet.
3 - Create a New Scratch Project ~3 mins
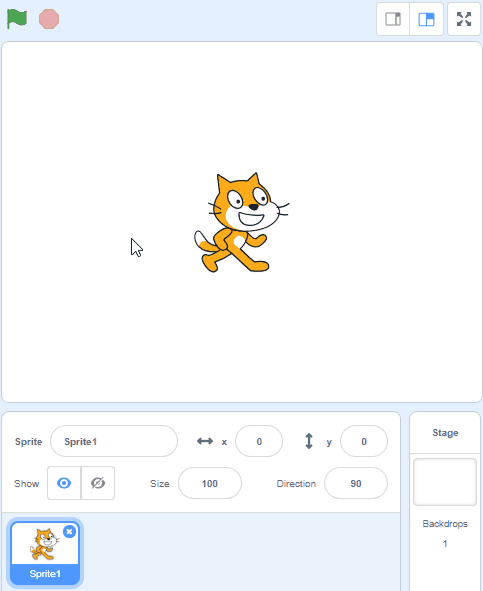
Create a new Scratch project and delete the cat sprite.
Go to the Scratch website using the link below and click on the 'Create' link in the blue bar at the top.
By default, each new project starts with the cat sprite already added. To delete the cat click on the x in the blue circle beside the cat in the sprite list.
Model on the board: how to start a fresh project and delete the cat sprite. Key question: why might we remove a sprite we don't need? Watch for students who delete the wrong sprite or skip this and end up with two sprites. Support: check each pair has a clean stage.
4 - Add the Car Sprite ~3 mins
Included with this step is a red car picture that we're going to upload into our Scratch project. First download the picture file onto your computer and then upload it into your project.
To download a picture to your computer, right click on the picture and then click on 'Save image as...'
You can upload images and sprite files into your project. To upload a sprite follow these steps:
- First save the image or sprite file onto your computer. You do this by right clicking on the image or link and then selecting 'Save image/link as...'.
- Choose a location on your computer such as your desktop and save the file.
- In your Scratch project, put your mouse over the Choose a Sprite button.
- Click on the 'Upload Sprite' button.
- Go to the folder you saved your file.
- Select the file and click 'Open'.
The new sprite will upload into your project and appear in the stage area.

Walk students through downloading the car image and uploading it as a sprite — this is the step most pairs stall on. Watch for students who try to drag the image straight in, or whose download is blocked. Differentiation cue: pair a confident student with anyone struggling with the file steps.
5 - Shrink the Car ~3 mins
As the car sprite is very large, we'll need to shrink it so that it has room to move around. We're going to shrink it to 10% of it's original size. Add the following code to the car sprite.
when green flag clicked
set size to (10) %
Click on the green flag and the car will shrink to a smaller size.

Model the green-flag-and-set-size script on the board. Key question: why shrink the car before doing anything else? Common bug: clicking the green flag with nothing built yet — remind them the script must be attached. Support: confirm the car visibly shrinks for each pair.
Unlock the full learning experience
You're previewing this lesson. Get full access to this lesson and hundreds more — each one ready to teach, with interactive activities, printable resources and pupil progress tracking built in.
This lesson is copyright of Coding Ireland 2017 - 2025. Unauthorised use, copying or distribution is not allowed.
Scratch is developed by the Lifelong Kindergarten Group at the MIT Media Lab. It is available for free at https://scratch.mit.edu