Makecode Arcade
Beginner
50 mins
Teacher/Student led
+160 XP
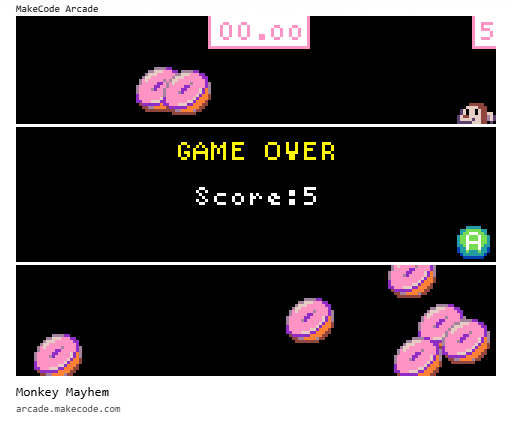
Score, Win and Share, Part 3
Students complete the Monkey Mayhem build in MakeCode Arcade, adding scoring, sound and a countdown timer to a sprite-collection game using the PRIMM approach and named debugging.