Microbit Finder
In this lesson we will use one Microbit to detect how close you are to another Microbit using radio signals.
In this lesson we will use one Microbit to detect how close you are to another Microbit using radio signals.
For this project you will need 2 Microbits. Both of them will need to be powered on and one of the power sources will need to let you walk around with the Microbit, so either a Microbit battery pack or a USB power bank.
The code that we create will be downloaded onto both Microbits and we will use the A and B buttons to set which Microbit is "lost" and which one is the "finder".
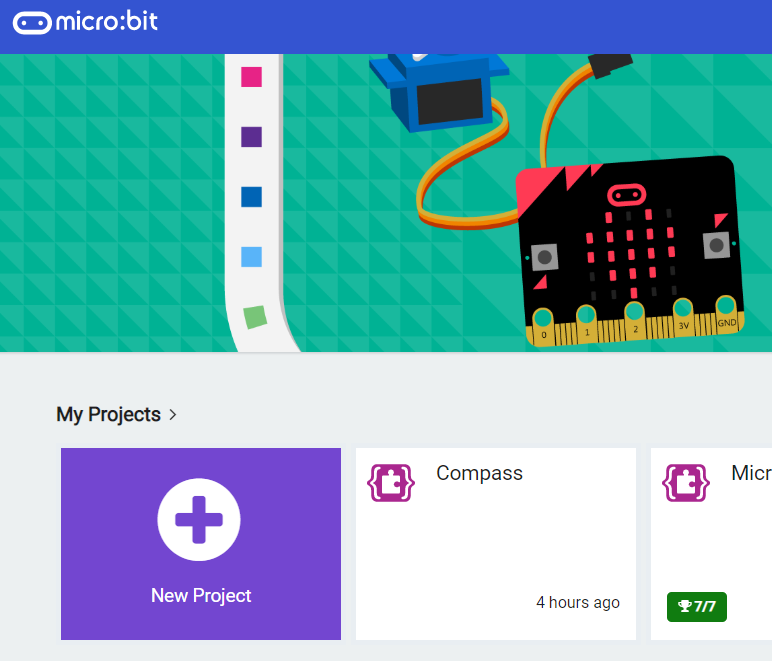
Go to the https://makecode.microbit.org website and create a new project.
Go to the Makecode.com Microbit website using the link below and click on the 'New Project' button underneath the 'My Projects' heading.
https://makecode.microbit.org/
Install the micro:bit app on your iPad or tablet.
Open the app, tap 'Create code' and then create a new project.
For this project we will need to create the following 2 variables:
Create a variable called mode and a variable called signal and then add the following code to setup the 'mode' variable to a blank string "".
let mode = ""
In the Variables toolbox, create a new variable by clicking the 'Make a Variable' button.
Once you click this button a box will appear asking what you want to call your variable. Give it a name that reminds you what you will be using it for. For example, if you wanted to keep track of your score in a game, you would create a variable called 'score'.
We need to set the radio group that our Micorbits will be broadcasting on so that they can communicate with each other. A radio group is the channel that the Microbit both sends it's messages and listens for other messages. A Microbit can only send or receive in one group at a time.
Add the following code to set the radio group to 1.
let mode = ""
mode = ""
radio.setGroup(1)
Next we are going to program the A and the B buttons to set the mode of each Microbit.
If you press the button A then you will set that Microbit to be the finder Microbit.
If you press the button B then you will set that Microbit to be the lost Microbit.
Add the following code:
input.onButtonPressed(Button.A, function () {
    mode = "finder"
})

input.onButtonPressed(Button.B, function () {
    mode = "lost"
    basic.showIcon(IconNames.Skull)
})

Get ready to embark on an incredible learning journey! Get access to this lesson and hundreds more in our courses.