1 - Start: What We're Building ~5 mins
Quick recap: last time we worked in Scratch — who can tell me what a loop does to a set of instructions?
Today we're building Pattern Creator at our devices. We'll teach a hidden sprite to drag a pen around the screen, then use a loop and a few variables to turn a single line into colourful spirals. First we predict, then we build, run and fix.
Set the scene briefly: devices logged in to Scratch, editor open. Tell students the plan is predict, build, run, fix — they won't just copy blocks. Model opening a new project on the board so everyone starts the same way.
2 - Predict Before You Run ~10 mins
Before anyone clicks the green flag: look at what we're about to build. Commit to a prediction — when this program runs, what will happen on the stage? Will you see the sprite, or just what it draws? Will it draw once or keep going?
Say your prediction to your partner so we can check it later.
This is the PRIMM predict beat. Hold students back from clicking anything. Ask: 'What will appear on screen first — the sprite or a drawing?' Collect two or three predictions and write them on the board to revisit at the make-sense step. Support: let unsure students whisper a prediction to a partner first.
3 - Introduction to Pattern Creation ~3 mins
Welcome to our exciting lesson on Pattern Creation! In this lesson, you will learn how to create cool patterns using Scratch. You will learn how to code the pen tool and use variables to make your patterns more interesting. By the end of this lesson, you will be able to create your own unique patterns. So, let's get started!

Read the lesson's framing aloud to orient students, then move straight to building — keep momentum here rather than dwelling.
4 - Create a New Scratch Project ~2 mins
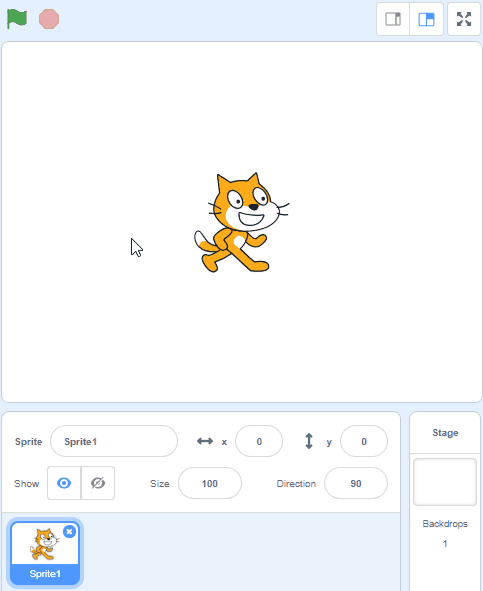
Go to the Scratch website, create a new project and delete the cat sprite.
scratch.mit.edu/projects/editor
Go to the Scratch website using the link below and click on the 'Create' link in the blue bar at the top.
By default, each new project starts with the cat sprite already added. To delete the cat click on the x in the blue circle beside the cat in the sprite list.

Model this on the board: creating the new project and deleting the cat sprite. Watch for students who skip deleting the cat and get confused later. Differentiation cue: pair a confident student with one who's slower to navigate the editor.
5 - Add the Ball Sprite ~2 mins
We are going to use the Pen blocks to create patterns but first we'll need to add a sprite that will do the drawing. It doesn't really matter which sprite we use as we are going to hide it.
Add the Ball sprite from the sprite library and then give it the following code.
when green flag clicked
go to x (0) y (0) // we want to start it in the center
hide
To add a sprite from the sprite library follow these steps:
- Put your mouse over the Choose a Sprite button
- Click on the magnifying glass
- Find the sprite you want in the library
- Click on your chosen sprite
You can use search box or the filter links (Animals, People, Fantasy etc) to locate your sprite.
On the board, show where the Ball sprite lives in the library and add the blocks together. Key question: 'Why are we hiding the sprite?' The common slip is forgetting the hide block, so the ball sits over the drawing — check for it as you circulate.
Unlock the full learning experience
You're previewing this lesson. Get full access to this lesson and hundreds more — each one ready to teach, with interactive activities, printable resources and pupil progress tracking built in.
This lesson is copyright of Coding Ireland 2017 - 2025. Unauthorised use, copying or distribution is not allowed.
Scratch is developed by the Lifelong Kindergarten Group at the MIT Media Lab. It is available for free at https://scratch.mit.edu