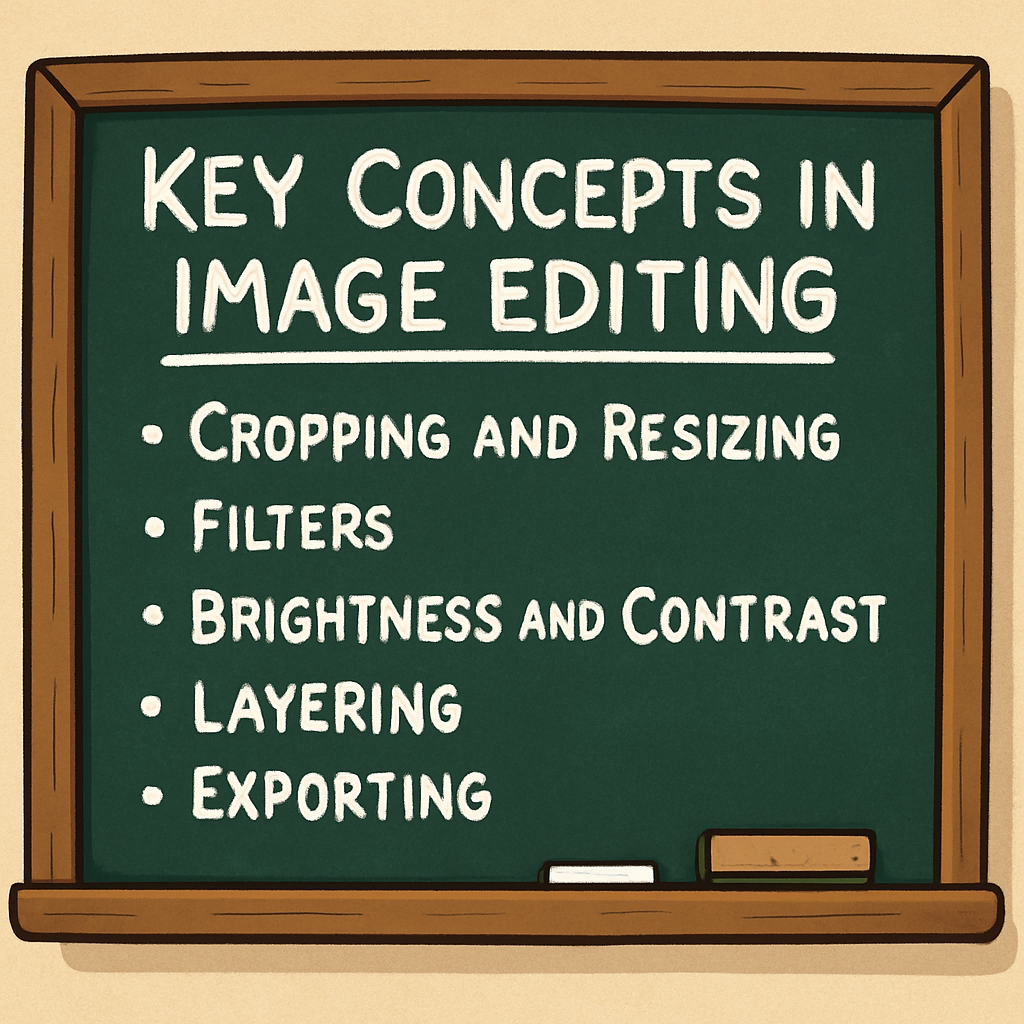
 In this step, you’ll learn the main image-editing skills you’ll use in this lesson.
When you understand these basics, you can make pictures look clearer, more focused, and better for sharing online — without changing the truth of what happened.
In this step, you’ll learn the main image-editing skills you’ll use in this lesson.
When you understand these basics, you can make pictures look clearer, more focused, and better for sharing online — without changing the truth of what happened.
Cropping and Resizing
Cropping means cutting away parts of a picture you don’t need, so the most important part stands out.
For example, you might crop a photo so we can see the person clearly, without a messy background.
Resizing means changing how big the image is (its width and height).
You might resize an image to fit a profile picture, a poster, or a slide.
It’s important to keep the aspect ratio (the shape of the image) the same, so the picture doesn’t look stretched or squashed.
Filters
Filters are ready-made effects you can add to change how an image looks.
Some filters make a photo black and white, warmer, cooler, or “vintage.”
Filters can change the mood of an image — but you should still make sure the picture looks realistic and not misleading.
Brightness and Contrast
Brightness controls how light or dark the whole image is.
If a photo is too dark, you can brighten it so you can actually see what’s happening.
Contrast controls the difference between light areas and dark areas.
Higher contrast can make details stand out more, but if you go too far, you can lose important detail (parts can turn into bright white or very dark patches).
Layering
Layering means you can place items on top of each other — like stickers, shapes, and text — without wrecking the original photo.
This is helpful for making posters, thumbnails, or adding labels to an image.
The best part is you can move layers around, edit them, or delete them one at a time.
Exporting
Exporting means saving your finished image in the right file type so you can share it.
Two common types are:
- JPG: Great for photos and usually smaller in file size.
- PNG: Great for graphics, text, and logos (and it can keep transparent backgrounds).
Choosing the right format helps your image look good and work properly wherever you upload it.
When you master these skills, you can create clean, high-quality visuals — and you can do it responsibly.
 Chromebooks, laptops, and PCs are crucial tools for coding and digital skills education. Chromebooks are ideal for web-based applications and collaborative projects, while laptops and PCs support a wider range of programming environments and software for more intensive tasks like software development and data analysis.
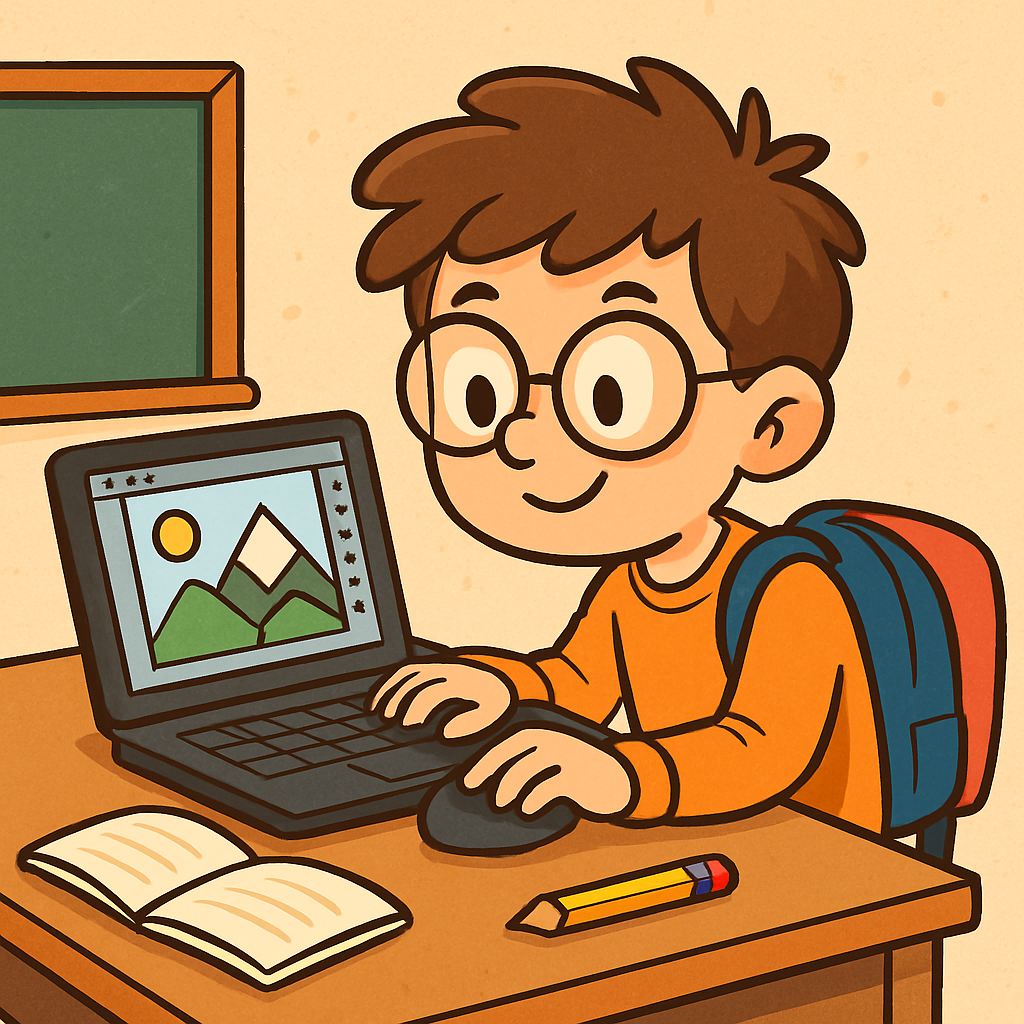 Welcome to this lesson on Image Editing. In this session, you’ll learn simple, beginner-friendly ways to edit pictures using easy tools.
Image editing is useful because it helps you make clear, eye-catching images for school projects, posters, and social media — so your message is easy to understand.
By the end of the lesson, you’ll know a few key editing skills and how to use them in a fair and responsible way.
Welcome to this lesson on Image Editing. In this session, you’ll learn simple, beginner-friendly ways to edit pictures using easy tools.
Image editing is useful because it helps you make clear, eye-catching images for school projects, posters, and social media — so your message is easy to understand.
By the end of the lesson, you’ll know a few key editing skills and how to use them in a fair and responsible way.
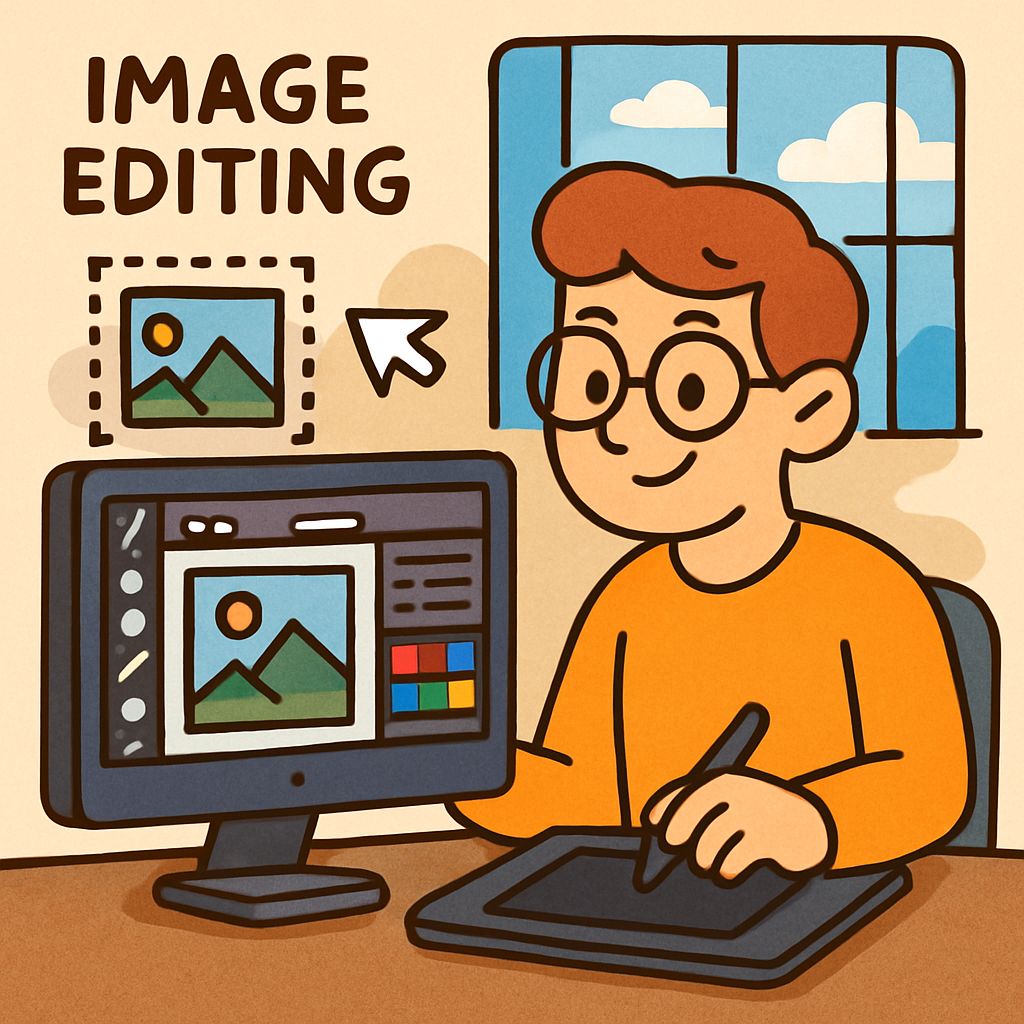 Image editing means changing a digital picture using an editing tool (like Canva).
You might edit an image to fix something small (like making it brighter), to add text, or to create a new design (like a poster).
At its core, image editing helps you make visuals clearer, more interesting, and easier to understand.
Image editing means changing a digital picture using an editing tool (like Canva).
You might edit an image to fix something small (like making it brighter), to add text, or to create a new design (like a poster).
At its core, image editing helps you make visuals clearer, more interesting, and easier to understand.
 In this step, you will start using Canva, a free online tool for creating and editing images and graphics.
Canva is beginner-friendly, so it’s a great place to practise the image editing skills you’re learning in this lesson.
In this step, you will start using Canva, a free online tool for creating and editing images and graphics.
Canva is beginner-friendly, so it’s a great place to practise the image editing skills you’re learning in this lesson.
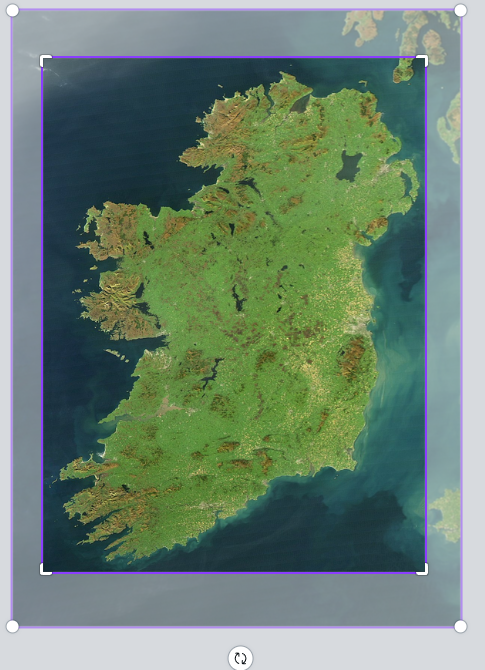 In this step, you will learn how to crop and resize images using Canva.
These skills help you focus on the most important part of a picture and make sure it fits neatly in your design.
In this step, you will learn how to crop and resize images using Canva.
These skills help you focus on the most important part of a picture and make sure it fits neatly in your design.