 In this step, we will examine the fundamental concepts of image editing that you will apply during this lesson. Understanding these principles will enable you to enhance and manipulate images effectively.
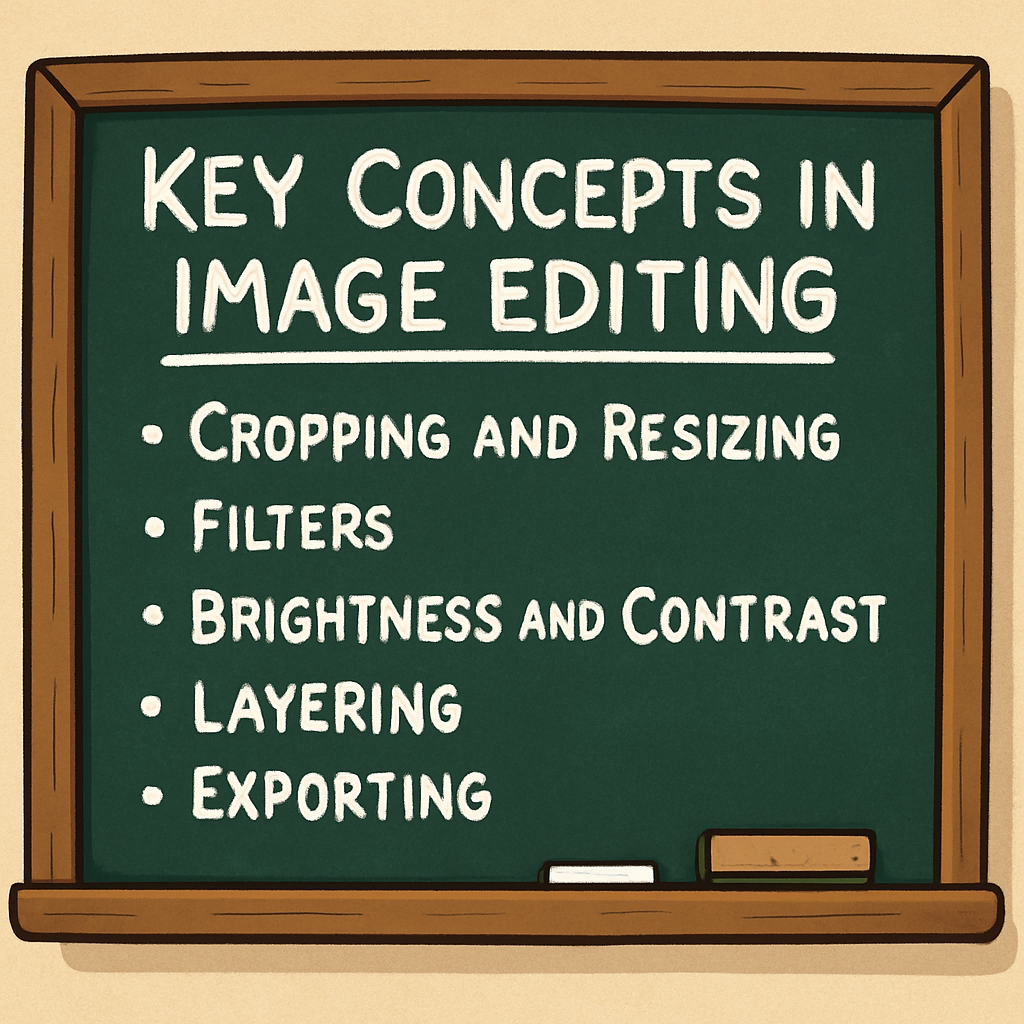
Cropping and Resizing
Cropping involves removing unwanted portions of an image to emphasise the main subject or to improve composition. For example, you might crop a photograph to focus solely on a person's face, eliminating distracting background elements. Resizing, on the other hand, adjusts the overall dimensions of the image, such as reducing its size to fit within a social media post or enlarging it for a poster. It is important to maintain the aspect ratio during resizing to avoid distortion.
Filters
Filters are pre-set effects that can be applied to an image to alter its appearance in specific ways. Common examples include converting a colour image to black and white, or applying a sepia tone to give it a vintage appearance. Filters can enhance the mood or style of an image, making it more artistic or suitable for a particular theme.
Brightness and Contrast
Brightness controls the overall lightness or darkness of an image, allowing you to correct underexposed (too dark) or overexposed (too light) photographs. Contrast adjusts the difference between the lightest and darkest areas, which can make an image appear more vivid and defined. For instance, increasing contrast can make details stand out more clearly, but excessive adjustments may result in loss of detail.
Layering
Layering enables you to overlay multiple elements, such as images, text, or shapes, on top of one another without permanently altering the underlying content. This technique is useful for creating composite designs, like adding a caption to a photograph while keeping the original image intact. Layers can be rearranged, edited, or removed independently.
Exporting
Exporting is the process of saving your edited image in a suitable file format for sharing or further use. Common formats include JPG, which is ideal for photographs due to its smaller file size, and PNG, which supports transparency and is better for graphics with text or logos. Choosing the appropriate format ensures the image maintains its quality and compatibility.
Mastering these concepts will allow you to produce polished and professional visual content responsibly.
 Chromebooks, laptops, and PCs are crucial tools for coding and digital skills education. Chromebooks are ideal for web-based applications and collaborative projects, while laptops and PCs support a wider range of programming environments and software for more intensive tasks like software development and data analysis.
 Welcome to this lesson on Image Editing Basics. This session will introduce you to the fundamental skills of editing images using straightforward tools. Image editing forms an essential part of creating digital content, enabling you to convey stories, ideas, or information effectively through visual media online. Upon completion of this lesson, you will have gained knowledge of basic editing techniques and an understanding of how to apply them in a responsible manner.
 Image editing refers to the process of modifying digital images using specialised software tools. This involves making adjustments to photographs or graphics to correct imperfections, apply creative effects, or compose entirely new visual designs. At its core, image editing allows individuals to enhance the quality and impact of visual content.
 In this step, you will begin using Canva, which is a free online tool designed for creating and editing images and graphics. Canva is user-friendly and suitable for beginners, making it an excellent choice for learning image editing basics.
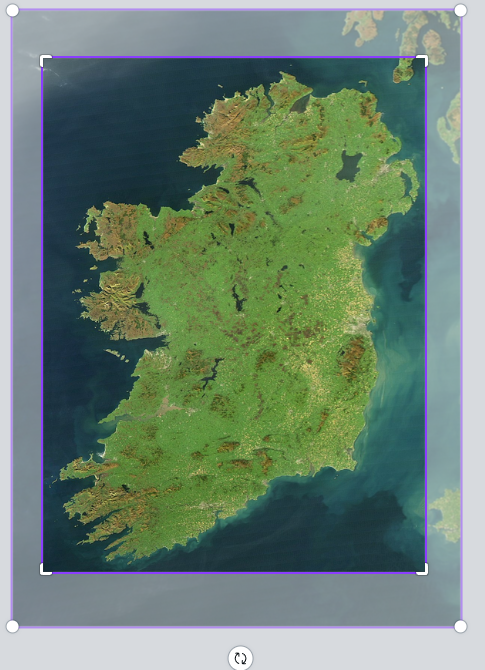 In this step, you will learn how to crop and resize images using Canva. These techniques are essential for focusing on the most important parts of an image and ensuring it fits perfectly within your design.