1 - Start: What We're Building ~5 mins
Last time we saved a project we'd been building — open it now so we can keep going. Quick recap: what does it mean for two devices to communicate? Today each pair will code two micro:bits so they can talk to each other over radio: press a button on one and watch a message appear on the other. We'll predict first, then build it step by step, run it on real devices, and fix anything that misbehaves.
Open with the recap: ask what 'communication between devices' means and gather a couple of everyday examples. Make sure each pair has opened the project they saved earlier and has two powered micro:bits ready. Set the scene without listing any code — students should know they'll predict, build, run and fix today.
2 - Predict Before You Run ~10 mins
Before anyone runs or downloads anything, look at what we're about to build and commit to a prediction. When you press a button on one micro:bit, what do you think the other one will do? What will you see on its screen first? Say your prediction to your partner and be ready to share it.
This is the PRIMM predict beat. Hold everyone off running anything. Ask: when you press a button on one micro:bit, what will the other show first? Collect two or three predictions and park them on the board to revisit at the make-sense step. For students unsure, prompt them to picture just the press-and-show action.
3 - Introduction ~4 mins
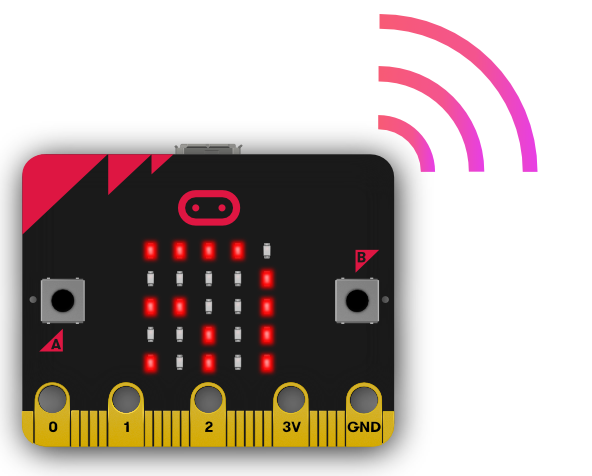
Microbits have a radio transceiver built into them. A transceiver is an electronic device which is a combination of a radio transmitter and a receiver, hence the name. It can both send and receive radio waves using an antenna, for communication purposes.
For this project you will need 2 Microbits so you can send and receive messages.
Briefly explain that each micro:bit has radio built in and can both send and receive. Key question: why do we need two devices for this build? Confirm every pair physically has two micro:bits before going further — this is the most common blocker for the whole lesson.
4 - Create a New Project ~3 mins
Go to the https://makecode.microbit.org website and create a new project.
Have students create the new project in the editor. Model where the new project button is on the board. Watch for students still inside the old project — make sure they're in a fresh one before adding any blocks.
5 - Choose a Radio Group ~3 mins
The first thing we need to do is set the radio group that our Micorbits will be broadcasting on. A radio group is the channel that the Microbit both sends it's messages and listens for other messages. A Microbit can only send or receive in one group at a time.
A Microbit that is on radio group 2 will not be able to receive a message from another Microbit that is on radio group 3. However if they are both on radio group 3 then then we can communicate with each other.
Add the following code to set the radio group to 1.
radio.setGroup(1)
Model setting the radio group on the board. Stress the key idea: both micro:bits must be on the same group to hear each other. Ask pairs sitting close together to agree a group number with you so the room doesn't cross-talk. Misconception to address: a different group number means messages simply won't arrive — it's not a code error.
Unlock the full learning experience
You're previewing this lesson. Get full access to this lesson and hundreds more — each one ready to teach, with interactive activities, printable resources and pupil progress tracking built in.
This lesson is copyright of Coding Ireland 2017 - 2025. Unauthorised use, copying or distribution is not allowed.