Digital Media
Intermediate
80 mins
Teacher/Student led
+75 XP
What you need:
Chromebook/Laptop/PC or iPad/Tablet

Combining Media Elements

In this lesson, you'll learn to create a multimedia project by integrating images, audio, video, and text. Follow step-by-step guidance to plan, edit, and combine elements using tools like Canva and Clipchamp, producing a polished final piece.
Learning Goals Learning Outcomes Teacher Notes

Teacher Class Feed

Load previous activity

    1 - Introduction

    Welcome to this lesson on combining media elements. In this structured activity, you will systematically plan and develop a multimedia project that integrates various forms of media, including images, audio, video, and text. You will build upon the skills acquired from prior lessons, such as image manipulation in Canva, video editing in Clipchamp, and audio processing in AudioMass.

    Upon completion of this lesson, you will have produced a concise multimedia piece, such as a brief video narrative or presentation, which incorporates at least two distinct media types. You will employ essential editing techniques, including trimming, fading, volume control, and basic layering, to enhance the engagement and professionalism of your work.

    Lesson Objectives

    By the conclusion of this lesson, you will have the ability to:

    • Formulate a plan for a straightforward multimedia project.
    • Integrate images, audio, and video elements utilising appropriate online tools.
    • Implement editing techniques to refine and improve your project.
    • Export the finalised creation in a suitable format.

    Key Guidelines

    Proceed through the lesson at a pace that suits you, and infuse your project with creativity. It is essential to utilise free resources or your own original media to adhere to copyright regulations.

    Proceed methodically, ensuring each step aligns with your overall plan. If you encounter any challenges, review the instructions carefully before advancing.

    2 - Planning Your Project

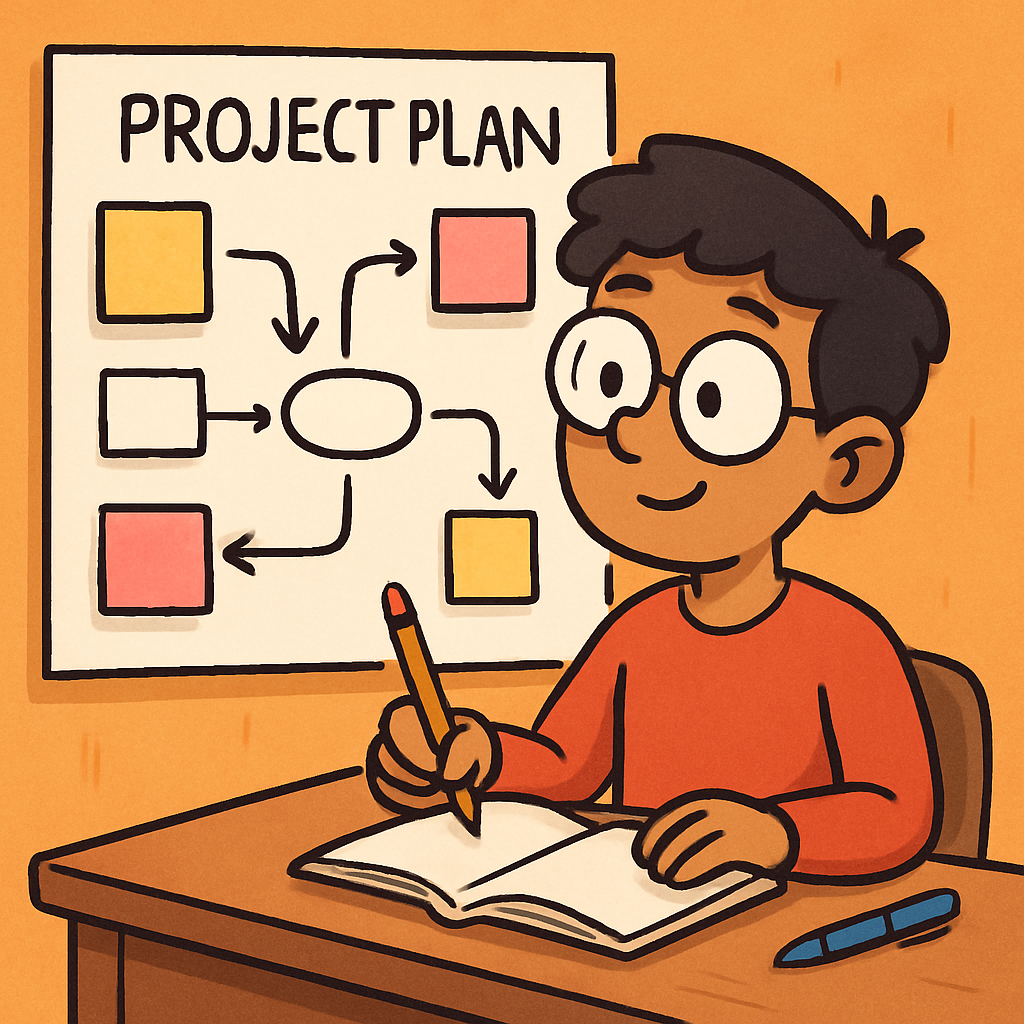
    Before commencing the creation of your multimedia project, it is essential to dedicate time to careful planning. This process will assist you in organising your concepts effectively, ensuring that the final output is both coherent and engaging.

    Begin by selecting a straightforward theme for your project, such as 'A Day in My Life', 'My Favourite Hobby', or 'A Short Story'. Remember, your project must incorporate at least two different types of media, for instance, images combined with audio, or video clips enhanced with text overlays.

    Detailed Steps for Planning

    1. Determine Your Theme and Narrative: Choose a central idea and outline the key message or story you wish to convey. For example, if your theme is 'My Favourite Hobby', decide on the specific aspects you will highlight, such as why you enjoy it and how it makes you feel.
    2. Compile a List of Media Elements: Identify the specific components you will include. Aim for 2-3 images that you will edit in Canva, an audio clip or voiceover created in AudioMass, a short video segment, and some textual elements. Ensure these elements support your theme and will integrate smoothly.
    3. Create a Rough Storyboard: On a sheet of paper, sketch a simple sequence of your project. Indicate the order of elements, such as beginning with an introductory image, followed by a voiceover narration, and then transitioning to a video clip. Include notes on timings and transitions to visualise the flow.
    4. Plan the Application of Editing Techniques: Consider how you will utilise key techniques to enhance your project. For instance, note where you will trim video clips to remove unnecessary sections, apply fades to audio for seamless beginnings and endings, adjust volume levels for balance, and employ basic layering to overlap text or audio with visuals.

    Planning is a crucial foundation for any successful project, as it helps prevent errors and saves time during the creation phase.

    Allocate approximately 10 minutes to this planning phase. Document your theme, list of media elements, storyboard sketch, and technique applications. This plan will serve as your roadmap throughout the subsequent steps.
    Maintain simplicity in your approach – target a project duration of 30 to 60 seconds to ensure it fits within the allocated time.

    3 - Editing Images in Canva

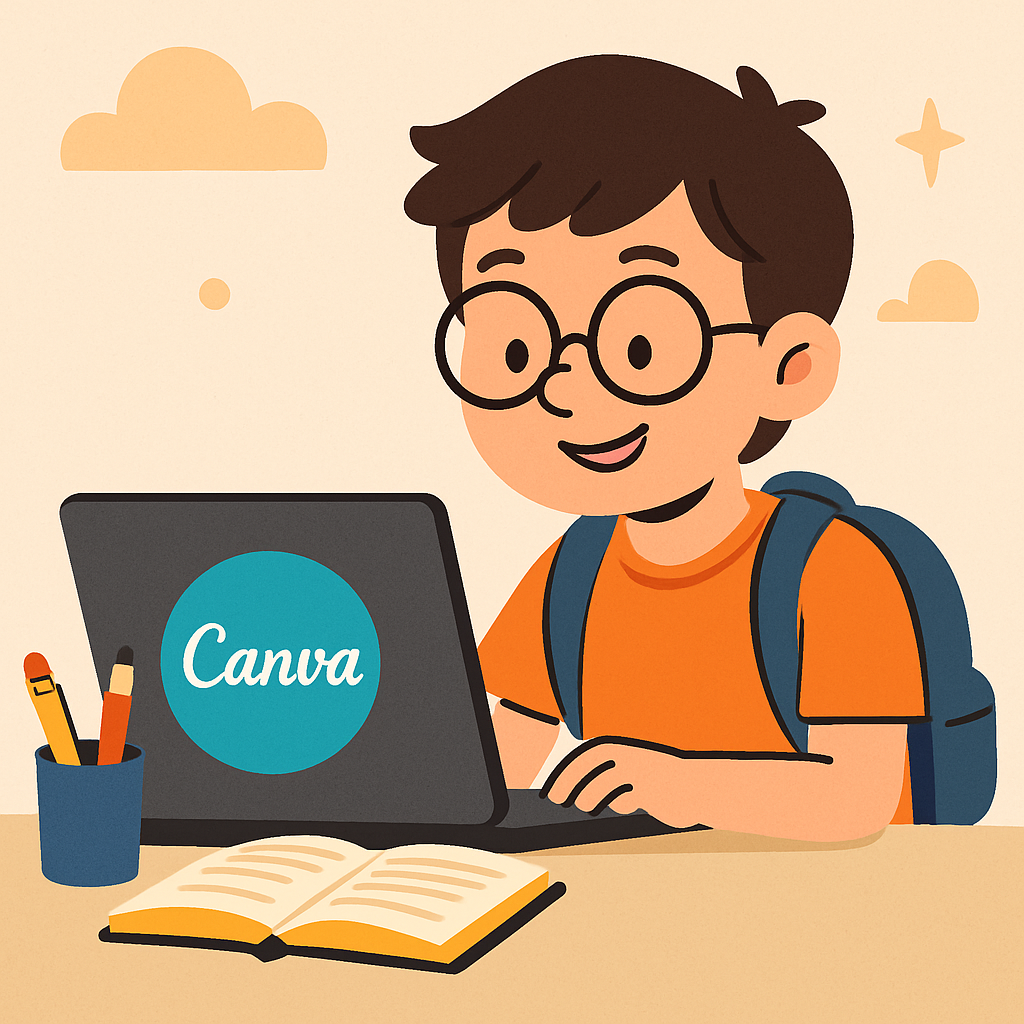
    In this step, you will utilise Canva to create or edit images that will form an integral part of your multimedia project. These images may include backgrounds, photographs, or graphical elements that align with your chosen theme. 

    Ensure that the images you produce are relevant to your project plan and incorporate at least basic editing techniques to enhance their visual appeal and suitability.

    Editing Images in Canva

    1. Access Canva: Open your web browser and navigate to the Canva website by clicking this link: Canva. If you have an account, sign in using your credentials. If not, create a free account to proceed.
    2. Initiate a New Design: Once logged in, select the option to create a new design. Choose a template suitable for your needs, such as 'Video' or 'Presentation', but concentrate primarily on developing static images at this stage. This will provide a canvas on which to build your elements.
    3. Select and Edit Images: Upload your own images from your computer (Uploads > Upload Files > Select Image) or browse Canva's extensive library of free images. Once selected, apply editing techniques including cropping to remove unwanted sections (Select Image > Crop), adding text overlays for emphasis (Text > Add relevant Text), adjusting colours to match your theme (Select Image > Edit Colours in image tab), or applying filters to alter the mood or style (Select Image > Edit > Apply Filters & Effects). Experiment with these tools to refine your images.
    4. Develop Multiple Images: Aim to create between 2 and 3 images. For instance, you might design a title slide by layering descriptive text over a relevant photograph, or create a background graphic with added shapes and icons to support your narrative.
    5. Download Your Work: After completing your edits, download each image to your computer (Share > Download > File Type > Download) . Select a suitable format such as PNG for images with transparency or JPG for standard photographs. Name your files clearly, for example, 'ProjectTitleSlide.png', to facilitate easy identification later.
    Allocate approximately 10-15 minutes to this task, focusing on editing and downloading your images. Verify that they correspond directly to the elements outlined in your project plan.
    Incorporate simple layering techniques in Canva, such as positioning shapes or text elements on top of base images, to add depth and interest to your designs.

    4 - Editing Audio in AudioMass

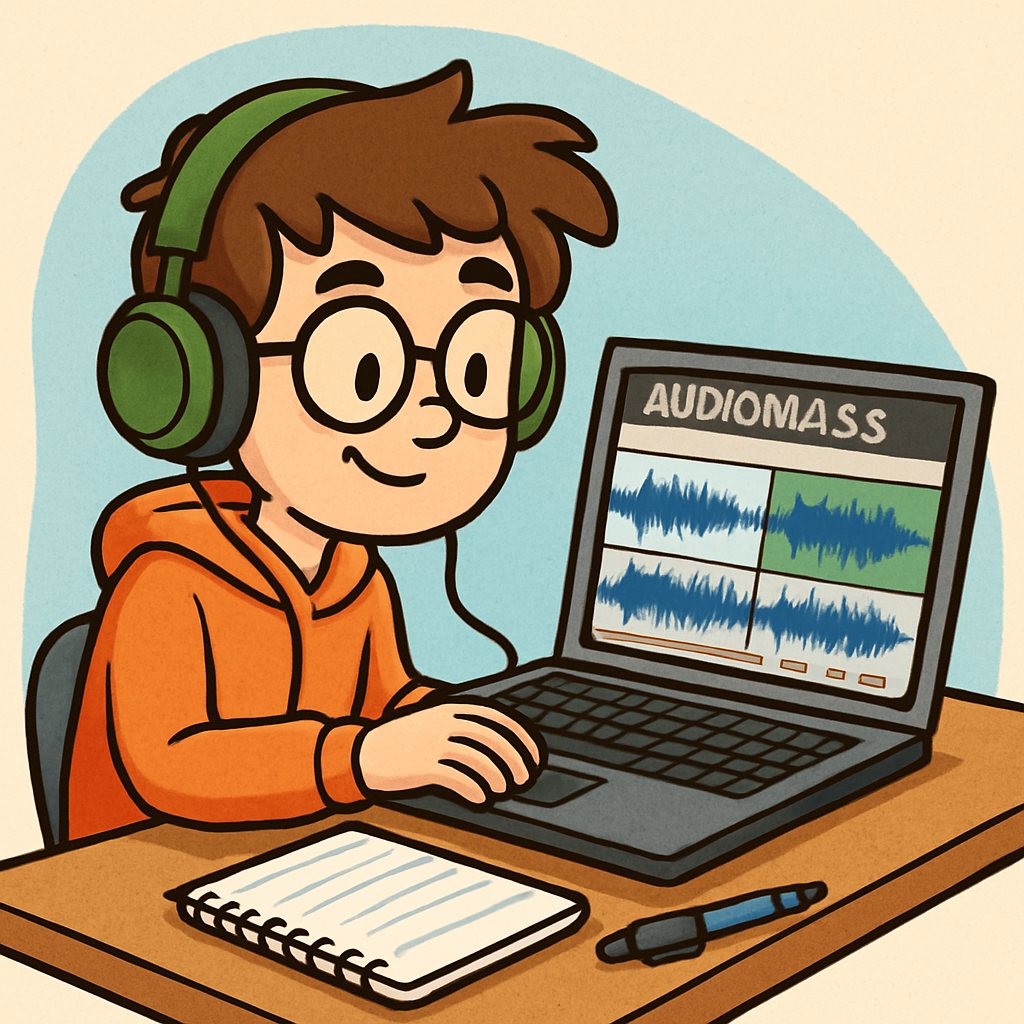
    In this step, you will utilise AudioMass to create or edit audio elements that will integrate into your multimedia project. These elements may include background music, sound effects, or a voiceover narration, all tailored to support your chosen theme. 

    Ensure that the audio clips you produce are directly relevant to your project plan and incorporate at least basic editing methods to improve their overall impact and flow.

    Editing Audio in AudioMass

    1. Access AudioMass: Open your web browser and navigate to the AudioMass website by clicking this link: AudioMass. The tool operates directly in your browser, requiring no installation or account creation, making it straightforward to use.
    2. Import or Record Audio: Once the interface loads, click on File> Load from Computer to import an existing audio file from your computer, or select File> New Recording to create a new voiceover. For instance, if your project involves narration, record a short script that describes your theme, such as explaining your favourite hobby. You may source free audio files from licensed websites like Pixabay music or Freesound, but always verify the usage rights to comply with copyright guidelines.
    3. Apply Editing Techniques: With your audio loaded, utilise the timeline and tools to refine it. Begin by trimming unnecessary sections by selecting and deleting parts of the waveform (Highlight selected audio by clicking and dragging your mouse across the area you want to cut > Right Click > Cut) . Add fade effects for smooth transitions by highlighting the start or end of the clip and applying 'Fade In' or 'Fade Out' (Highlight Selected Area > Effects > Fade in) . Adjust the volume levels using the amplitude controls to ensure balance, preventing any part from being too loud or too quiet (Highlight Selected Area > Right Click > Set Volume/Gain > Change Gain Percentage > Apply Gain). 
    4. Develop Multiple Audio Clips: Aim to create between one and two audio elements. For example, edit a background music track by trimming it to fit your project's duration and fading it out gently, or produce a voiceover with adjusted volume for clarity.
    5. Export Your Work: After completing your edits, click on File > Export/ Download > Rename File > MP3 > 128kbps > Stereo > Export Whole File > Export. Download the file to your computer, naming it clearly, such as 'ProjectVoiceover.mp3', for easy reference in later steps.
    Allocate approximately 10 minutes to this task, focusing on editing and exporting your audio clips. Confirm that they align with the elements specified in your project plan.
    Remember to source only free, licensed audio if not creating your own, and apply techniques like trimming and fading to achieve a professional finish.

    5 - Starting Your Project in Clipchamp

    In this step, you will initiate your multimedia project using Clipchamp, an online video editing tool designed to integrate various media elements such as images, audio, video, and text. Clipchamp provides a straightforward interface that enables you to combine the components you have prepared in previous steps, forming the foundation for your final creation. This tool is particularly effective for layering media, allowing you to overlay elements to enhance the narrative flow of your project.

    By starting your project in Clipchamp, you will establish a structured workspace where you can methodically assemble and refine your media according to the plan you developed earlier. Ensure that you refer back to your storyboard and notes to maintain alignment with your theme and objectives.

    Beginning Your Project

    1. Access Clipchamp: Open your web browser and navigate to the Clipchamp website by clicking this link: Clipchamp. If you already have an account, sign in using your credentials. If not, create a free account by following the on-screen prompts. This will grant you access to the editing features without any cost.
    2. Create a New Video Project: Once logged in, locate and select the option to start a new project. You may choose from available templates that suit your theme, such as a simple slideshow or video presentation, or opt for a blank canvas to build from scratch. Selecting a template can provide a helpful starting point, but ensure it aligns with your planned structure.
    3. Explore the Interface: Take a moment to familiarise yourself with the key components of the Clipchamp editor. The timeline, positioned at the bottom of the screen, is where you will arrange and sequence your media clips. The media library, typically found on the left side, allows you to import and organise your files. Additionally, note the preview pane in the centre, which displays your project as you build it, and the toolbar at the top for accessing editing tools.
    Allocate approximately 5 minutes to setting up your project in Clipchamp. During this time, refer to your project plan to ensure your setup supports the integration of at least two media types.
    Clipchamp's layering capabilities will be essential in the upcoming steps, where you will add and arrange your prepared elements to create a cohesive multimedia piece.

    Unlock the Full Learning Experience

    Get ready to embark on an incredible learning journey! Get access to this lesson and hundreds more in our Digital Skills Curriculum.

    Copyright Notice
    This lesson is copyright of Coding Ireland 2017 - 2025. Unauthorised use, copying or distribution is not allowed.
    🍪 Our website uses cookies to make your browsing experience better. By using our website you agree to our use of cookies. Learn more