The RGB LED is a coluorful add-on to your Microbit . Connect it up with alligator clips and then use the three outputs of your Microbit to control the red, green and blue channels to mix up any color of light you want.
To get started create a new Microbit project.
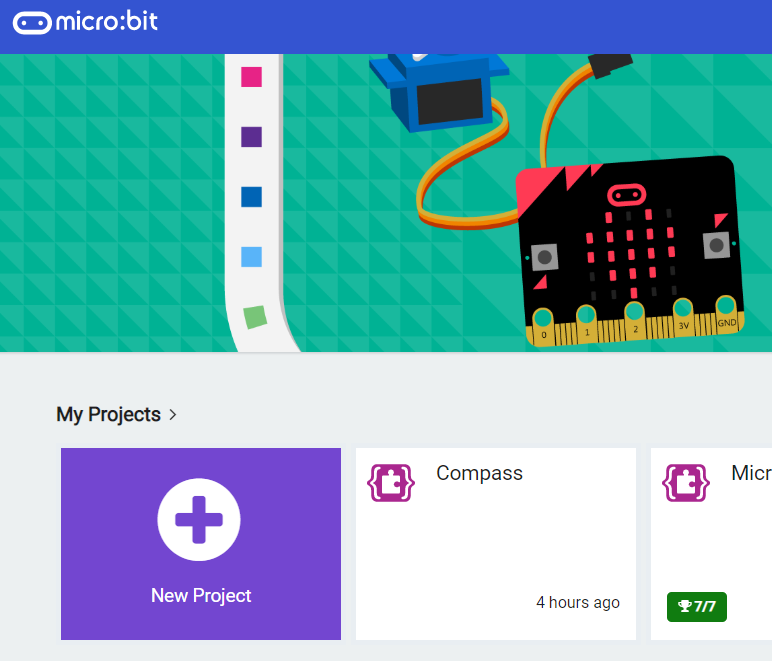
Go to the Makecode.com Microbit website using the link below and click on the 'New Project' button underneath the 'My Projects' heading.
https://makecode.microbit.org/
Install the micro:bit app on your iPad or tablet.
Open the app, tap 'Create code' and then create a new project.

The RGB LED board has three channels, a red, a green and a blue channel. We can control the LED by setting a value for each of these channels and 'mix' a colour. We do this by using the analog write pin block.
- Pin 0 (P0) is the red channel
- Pin 1 (P1) is the green channel
- Pin 2 (P2) is the blue channel
To start off let's code the LED to show 3 different colours. Create the following three functions (in the Advanced toolbox).
- Red
- Orange
- Green
function red () {
    pins.analogWritePin(AnalogPin.P0, 1023)
    pins.analogWritePin(AnalogPin.P1, 0)
    pins.analogWritePin(AnalogPin.P2, 0)
}
function orange () {
    pins.analogWritePin(AnalogPin.P0, 800)
    pins.analogWritePin(AnalogPin.P1, 100)
    pins.analogWritePin(AnalogPin.P2, 0)
}
function green () {
    pins.analogWritePin(AnalogPin.P0, 0)
    pins.analogWritePin(AnalogPin.P1, 1023)
    pins.analogWritePin(AnalogPin.P2, 0)
}
Functions are useful if you have some code/instructions that you want to use again and again.
To create a function go to the Advanced > Functions toolbox and click 'Make a Function'.
Give your function a name that makes sense and choose whether to pass anything into the function. In this example we will pass in a number.
Now call the functions by putting them in the 'forever' block and space them out using 'pause' blocks. This sequence imitates a traffic light.
basic.forever(function () {
    red()
    basic.pause(2000)
    orange()
    basic.pause(2000)
    green()
    basic.pause(5000)
})

function red () {
    pins.analogWritePin(AnalogPin.P0, 1023)
    pins.analogWritePin(AnalogPin.P1, 0)
    pins.analogWritePin(AnalogPin.P2, 0)
}
function orange () {
    pins.analogWritePin(AnalogPin.P0, 800)
    pins.analogWritePin(AnalogPin.P1, 100)
    pins.analogWritePin(AnalogPin.P2, 0)
}
function green () {
    pins.analogWritePin(AnalogPin.P0, 0)
    pins.analogWritePin(AnalogPin.P1, 1023)
    pins.analogWritePin(AnalogPin.P2, 0)
}
4 - Download the project and send it to your microbit
Give your project a name and send it to your Microbit by following these steps:
- Type "your project name" into the Project Name box.
- Connect your Microbit to your computer using the USB cable.
- Click the 'Download' button (a file called 'microbit-project-name.hex' will be downloaded to your computer).
- Open the folder on your computer where the file downloaded to.
- Right click on the file.
- Click Send To.
- Click Microbit.
- Power your microbit with a USB cable or battery pack
- Pair your microbit with your iPad/tablet (hold the A and B buttons and press and release the Reset button)
- Flash your project to your microbit
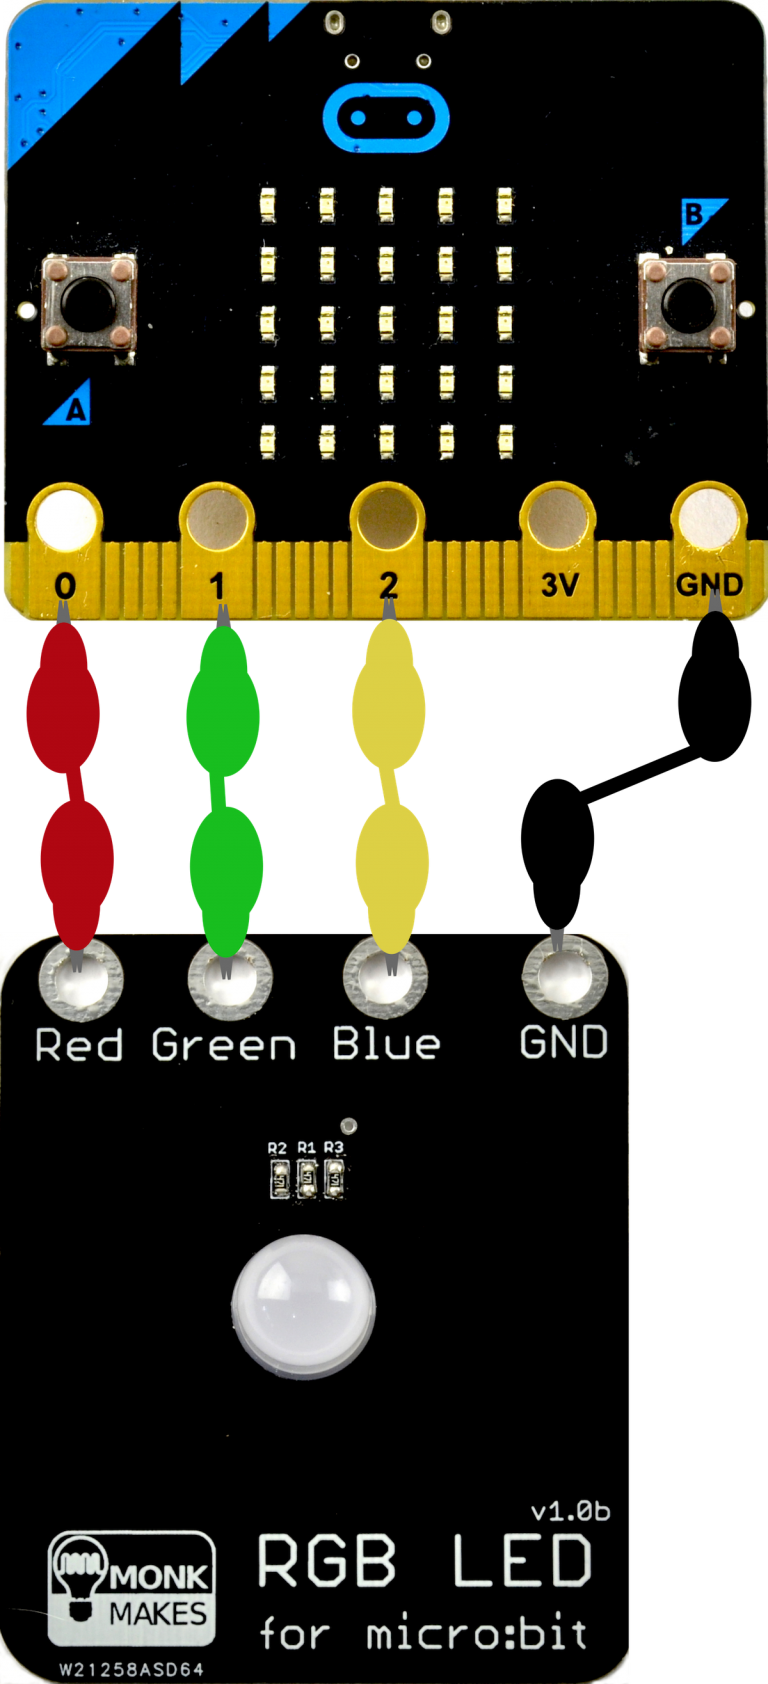
Using 4 crocodile clips, connect your microbit to the RGB light as shown in this diagram. It doesn't matter which colour crocodile clip you use for each connection as they are the same apart from the colours.
| Microbit | RGB LED Board |
| 0 | Red |
| 1 | Green |
| 2 | Blue |
| GND | GND |
When you power your Microbit, the RGB light should light up and follow your sequence.

Join our club 😃
To view the remaining 1 steps and access hundreds of other coding projects please login or create an account.
This lesson is copyright of Coding Ireland. Unauthorised use, copying or distribution is not allowed.