Go to the makecode.com website and create a new Microbit project.
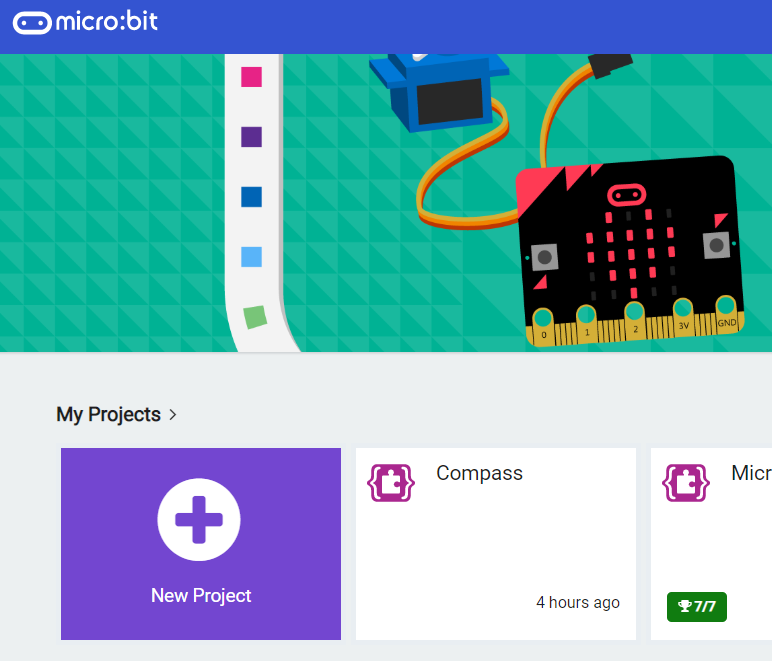
Go to the Makecode.com Microbit website using the link below and click on the 'New Project' button underneath the 'My Projects' heading.
https://makecode.microbit.org/
Install the micro:bit app on your iPad or tablet.
Open the app, tap 'Create code' and then create a new project.
There are custom code blocks that we use to program our traffic lights kit. To add them to our toolbox we need to add the "stopbit" extension.
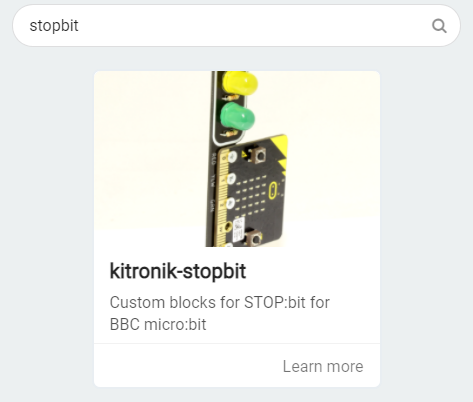
Search for the "stopbit" extension and then click on the traffic lights kit picture.
This will add the "Kitronik STOP:bit" category of code blocks to your toolbox.
To add an extension follow these steps:
- Click on 'Advanced' in the toolbox
- Click 'Extensions'
- Type the name of the extension in the search box
- Click on the extension in the search results
- The extension and all it's blocks will be added to your toolbox

First let's test that all the lights work on your traffic lights. Add the following code and then send it to your Microbit.
After you have sent the code to your Microbit, test that each light works by pressing the A, B and A+B buttons. If any of the lights are flickering then make sure that the screws are tight.
Give your project a name and send it to your Microbit by following these steps:
- Type "your project name" into the Project Name box.
- Connect your Microbit to your computer using the USB cable.
- Click the 'Download' button (a file called 'microbit-project-name.hex' will be downloaded to your computer).
- Open the folder on your computer where the file downloaded to.
- Right click on the file.
- Click Send To.
- Click Microbit.
- Power your microbit with a USB cable or battery pack
- Pair your microbit with your iPad/tablet (hold the A and B buttons and press and release the Reset button)
- Flash your project to your microbit
We are going to program the traffic lights to show the lights in a sequence. In coding, a 'sequence' is the order in which instructions happen. For example if you were programming a robot to put on her shoe, the sequence would be:
- put on her sock
- put on her shoe
- tie her laces
For our traffic lights we are going to program them to go through this sequence:
- show green light for 5 seconds
- show yellow light for 1 seconds
- show red light for 2 seconds
Delete the code you have created already as we no longer need it.
There are two different ways we can display the lights on the traffic lights. The first way is just by setting each light to either on or off.
Add the following code to make the traffic lights forever go through the sequence. Once you've added the code, download and send it to your Microbit.
Check that the lights are displaying in the right sequence.
- Green for 5 seconds
- Yellow for 1 second
- Red for 2 seconds

Join our club 😃
To view the remaining 1 steps and access hundreds of other coding projects please login or create an account.
This lesson is copyright of Coding Ireland. Unauthorised use, copying or distribution is not allowed.